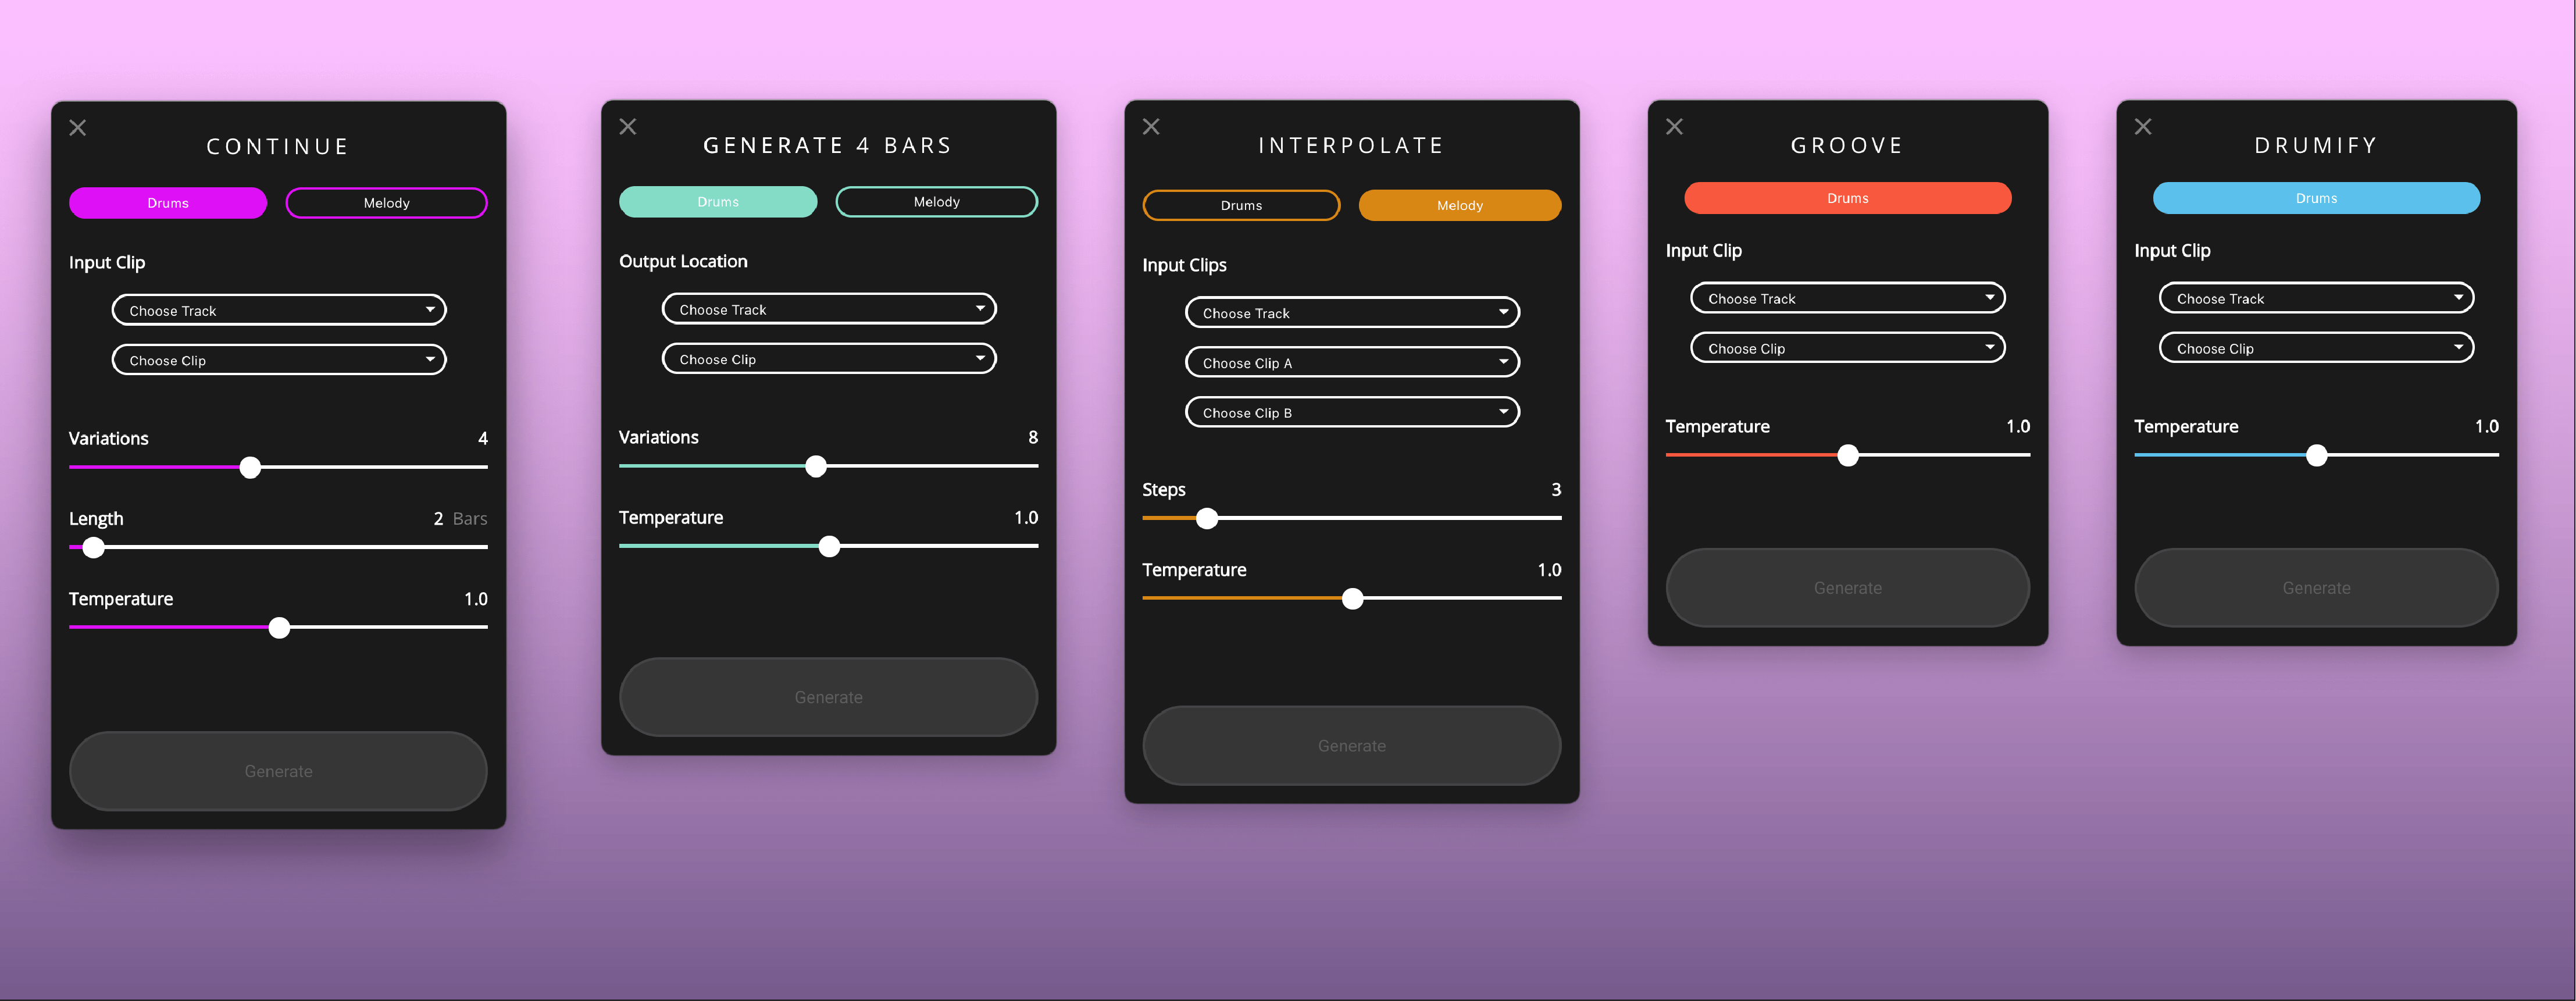
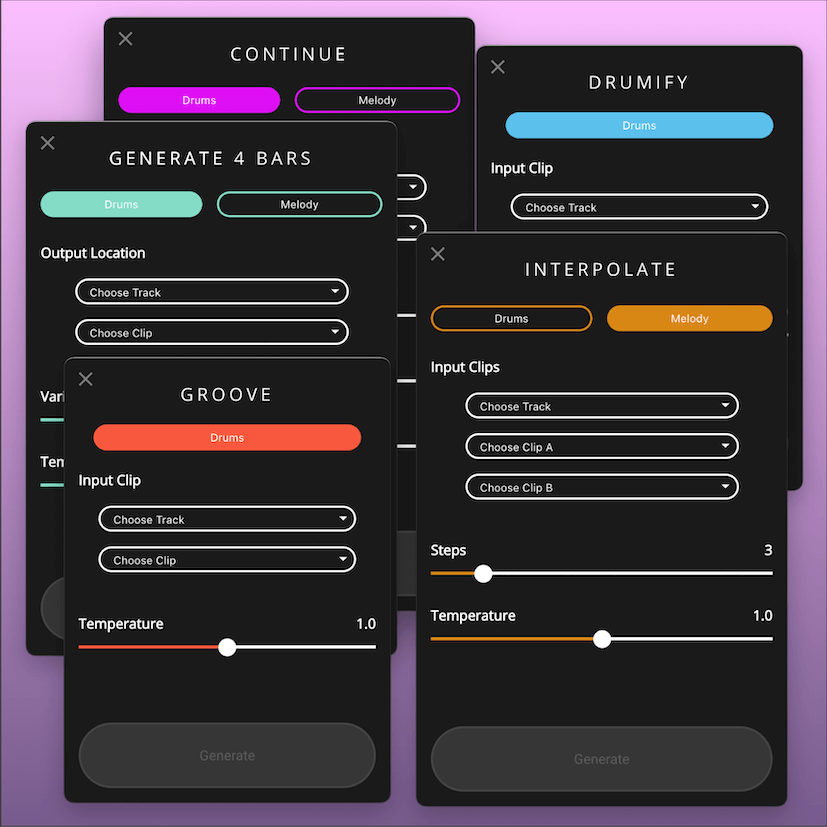
In this article, we go over Magenta Studio and some music examples we’ve created with it. As per the Magenta site, “Magenta Studio is a collection of music plugins built on Magenta’s open-source tools and models. They use cutting-edge machine learning techniques for music generation”. Magenta Studio offers 5 unique modules that generate midi using machine learning. If you are a Max for Live user, you can use these plugins in Ableton Live or you have the option of using them in standalone.
CONTINUE PLUGIN
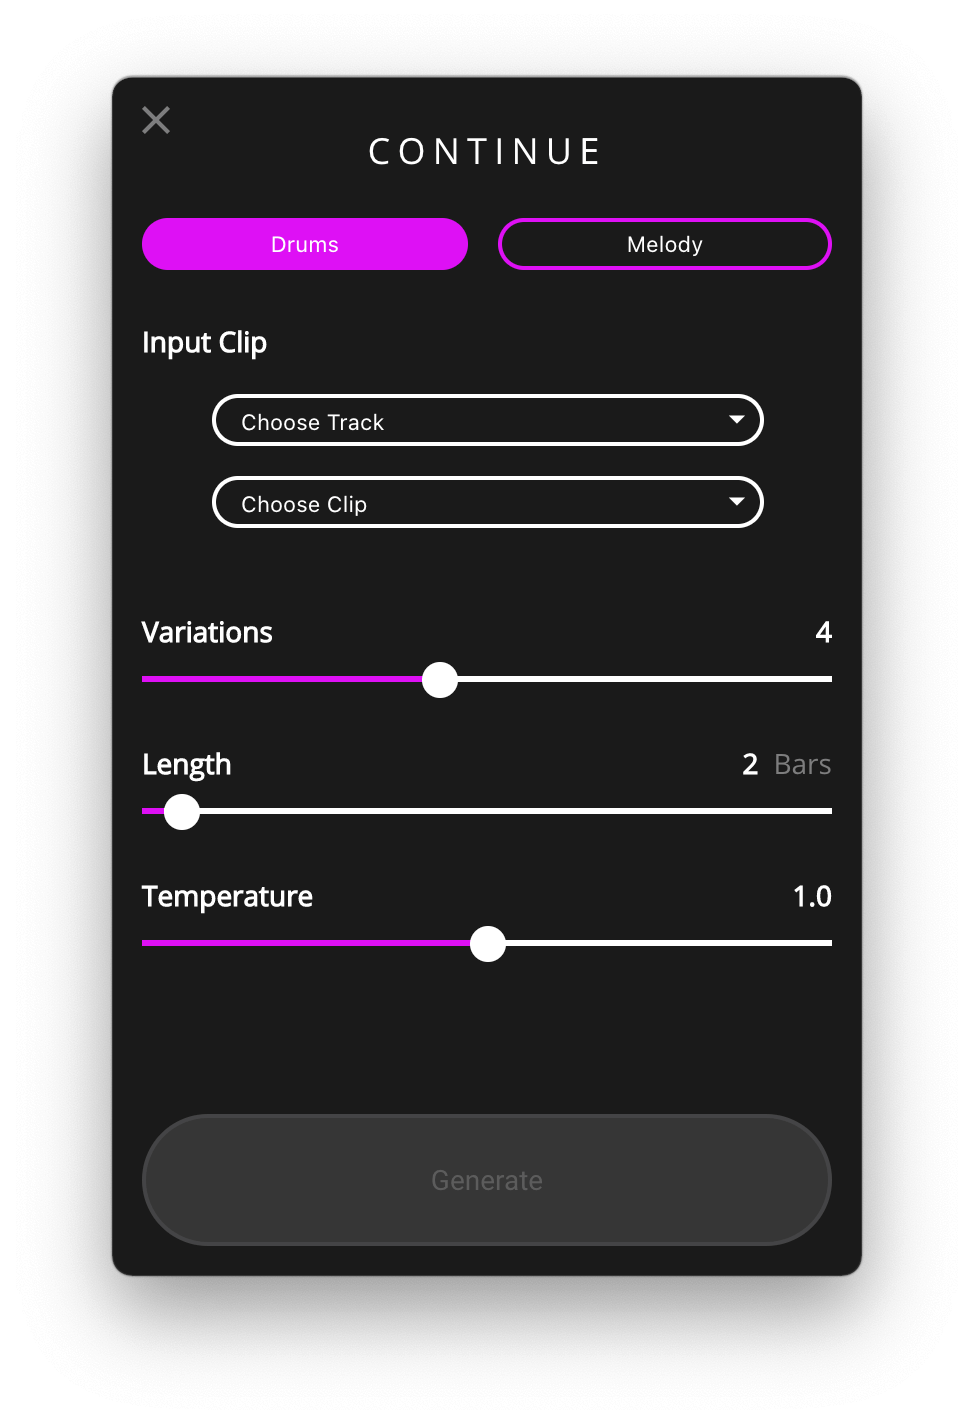
The Continue plugin takes a midi input (drums or melody) and elaborates on that midi input for up to 32 measures. Once you choose your midi input, you have 3 parameters to tweak (these parameters repeat on most of the modules). Variation determines how many different midi clips you’d like to generate, each one being unique. Length determines how many bars your midi clip extends for. I would describe temperature as how simple or complex the generated midi comes out, with lower values being simpler and higher values being more complex.
For the Continue beat I created a 1 bar long bass lick to be used as the midi input for the plugin. I generated 8 variations, extending the midi 2 bars, and filtered through them to select which one sounded best. That new selection was then used as the midi input for the plugin, and 4 more variations were generated, extending it 4 more bars. One of those newly generated variations was chosen and extended even further. I continued this process one more time and generated my final batch, creating 4 variations extending the midi clip to be a total of 9 bars. A final midi clip was chosen to be used in the track.
For the drums, I used the same process, an initial midi clip was created and used as an input for the plugin. A few different midi clips were created from scratch to use as inputs for the plugin, but nonetheless, some useable midi was generated.
From there, I laid out the drum and bass midi clips in Ableton’s arrangement view and got into production.
Drums
For the drums, I tweaked Ableton’s 808 Core Kit using filters, saturation, and compression on some of the individual drum sounds and layered it with another drum rack with samples of my own to give it a unique punchy sound. In a separate audio track, a foley clap sample is playing on every other snare hit.
Bass
For the bass, Novation’s Bass Station VST was used and processed through two parallel processing chains. One chain with a chorus effect, EQ, and compression. The second chain with saturation. Both chains are layered over a clean chain. After the parallel processing, the whole thing is being run through EQ, saturation, and 2 different compressors.
Melody
For the melody, Massive’s default preset was used with an automated low pass filter for the swelling effect followed by chorus, compression, reverb, more compression, and saturation.
FX
A reverse cymbal was placed in the beginning, a reversed noise sound was placed before one of the claps, and a little electronic beep was added into the mix. I find these little touches added some interest to the track.
GENERATE
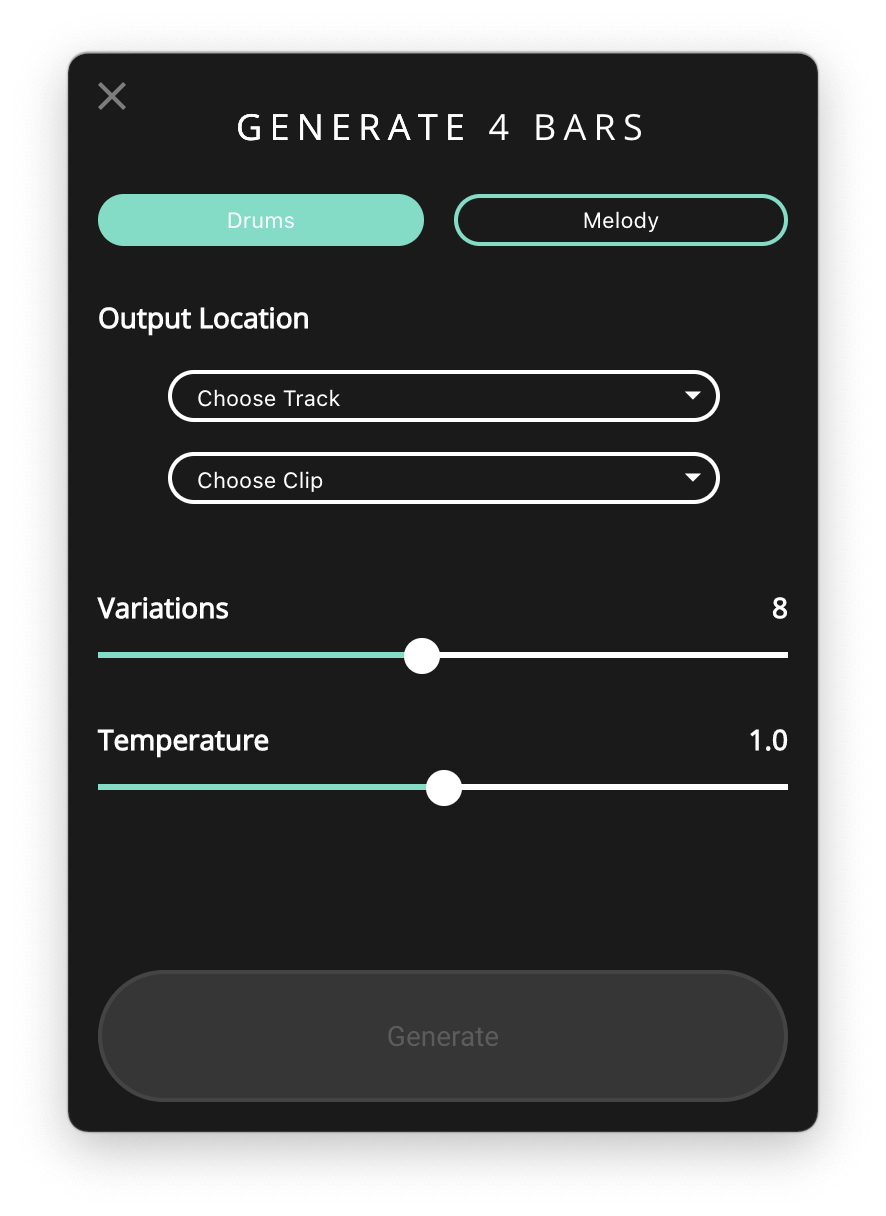
The Generate plugin generates a 4-bar midi clip with no midi input required. As per Magenta’s description, “Generate uses a Variational Autoencoder that has been trained on millions of melodies and rhythms to learn a summarized representation of musical qualities. Generate chooses a random combination of these summarized qualities and decodes it back to MIDI to produce a new musical clip.” For parameters, you have control over how many unique variations it generates and the temperature of those midi clips.
For the Generate beat, 8 midi variations were generated for the drums. After choosing a midi clip for the drums, some melody midi clip variations were generated, and a clip was chosen. The midi clips were laid out in Ableton’s arrangement view and an 8-bar loop was created.
Drums
For the drums, a drum rack was created from scratch with my own samples. Some envelope shaping, filtering, and layering was applied to the individual samples, followed by compression and saturation being applied to the whole drum rack. Some of the midi had to be duplicated to trigger the layered sounds in the drum rack.
Keys
The keys are Ableton’s Instrument Rack Preset “Det Keys” being run through a chorus effect, EQ, another EQ, and a reverb send.
Bass
The bass is Novation’s Bass Station VST being run through two parallel chains. One chain is a compressor and chorus effect. The second chain is a saturation plugin. The whole effect rack is being run through an EQ, compressor, another EQ for some final shaping, and a reverb send.
Pad
The pad is Massive’s “Dandelion Chorus” preset being processed through an EQ, compressor, chorus effect, bandpass EQ, and reverb.
FX
For effects, a single guiro strike was processed through a comb filter, chorus, and EQ and an ambient clap on the first snare hit every 4 bars going into a compressor, EQ, chorus, reverb, saturation, and low pass filter.
INTERPOLATE
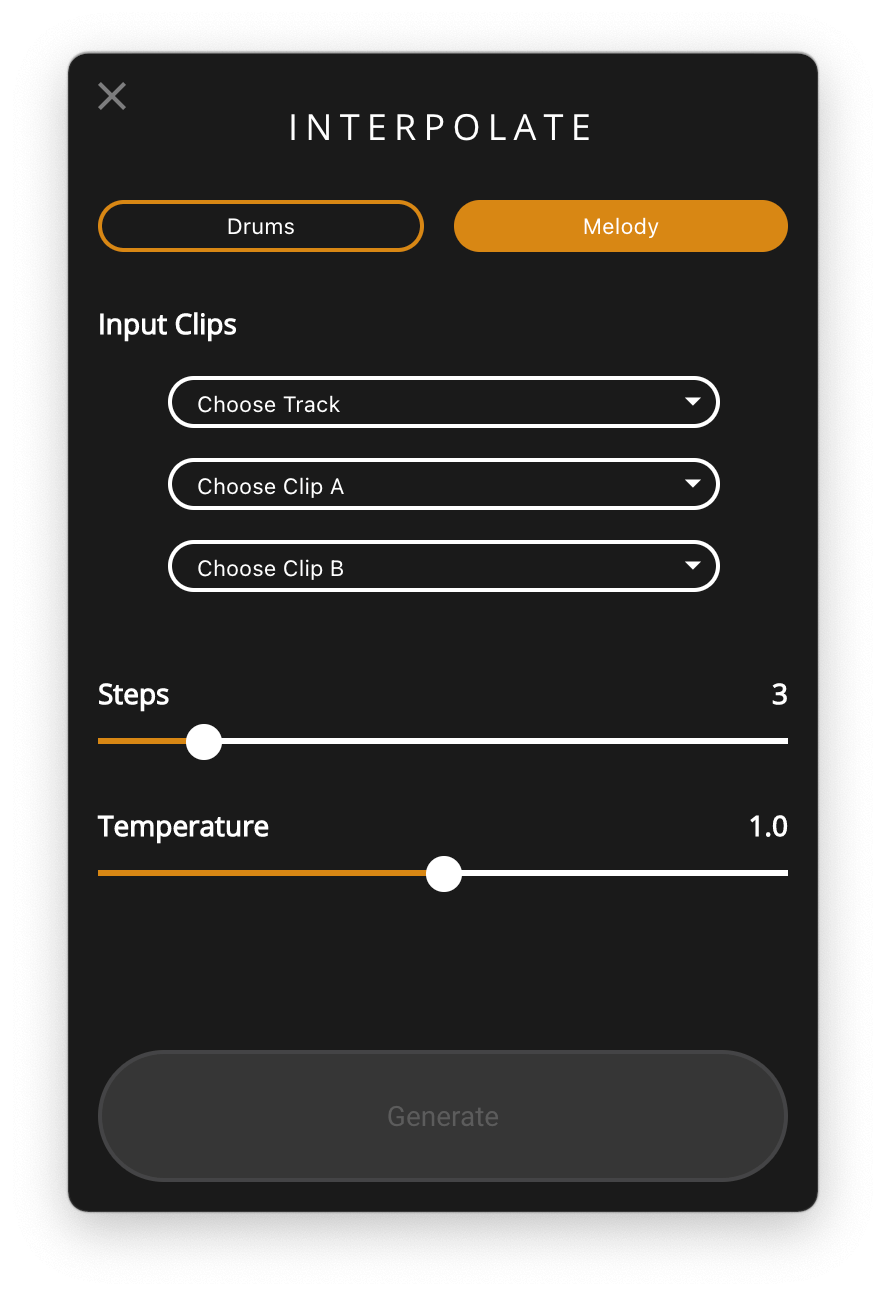
The Interpolate plugin takes two different midi clips as inputs and generates up to 16 hybrid variations of the two midi clips. Magenta goes on to describe, “Interpolate also uses a Variational Autoencoder (VAE) similar to Generate. One way to think of the VAE is as a mapping from MIDI to a compressed space in which similar musical patterns are clustered together. Each of your input patterns is represented by a position on this map. Interpolate draws a line between these positions and returns clips along this line.” For parameters, there is “steps” which controls how many unique variations are generated and “temperature”.
For the Interpolate beat, 4 different midi drum patterns were created: a trap genre pattern, house, another house variation, and a drum and bass pattern. 32 different variations were generated using different combinations of the 4 beats as inputs for the plugin. I then went on to filter through the clips to see what worked. For the bass, 3 different basslines were created and a combination of those were used for the plugin to generate 8 variations. The final midi clip selections were put into Ableton’s arrangement view to create an 8-bar loop.
Drums
For the drums, Ableton’s SwanSong Kit was layered with my own drum rack. Some filtering, envelope shaping, and compression was used on the individual drum sounds with some layers added to the kick, claps, and hi-hats. My custom drum rack is being processed through a compressor and saturation plugin. The chain for the noisy toms is saturation, multiband compression, low pass filter, and EQ.
Bass
For the bass, Ableton instrument “Bass Floor Bounce” was being run through EQ, compression, chorus, and a final compressor for the mix.
Synth
For the synth part, Massive’s 1991 preset was run through chorus, compression, reverb, saturation, some clean up EQ, mix EQ, and mix compression.
FX
A reversed open hi hat with a comb filter, chorus, and compression was used.
GROOVE
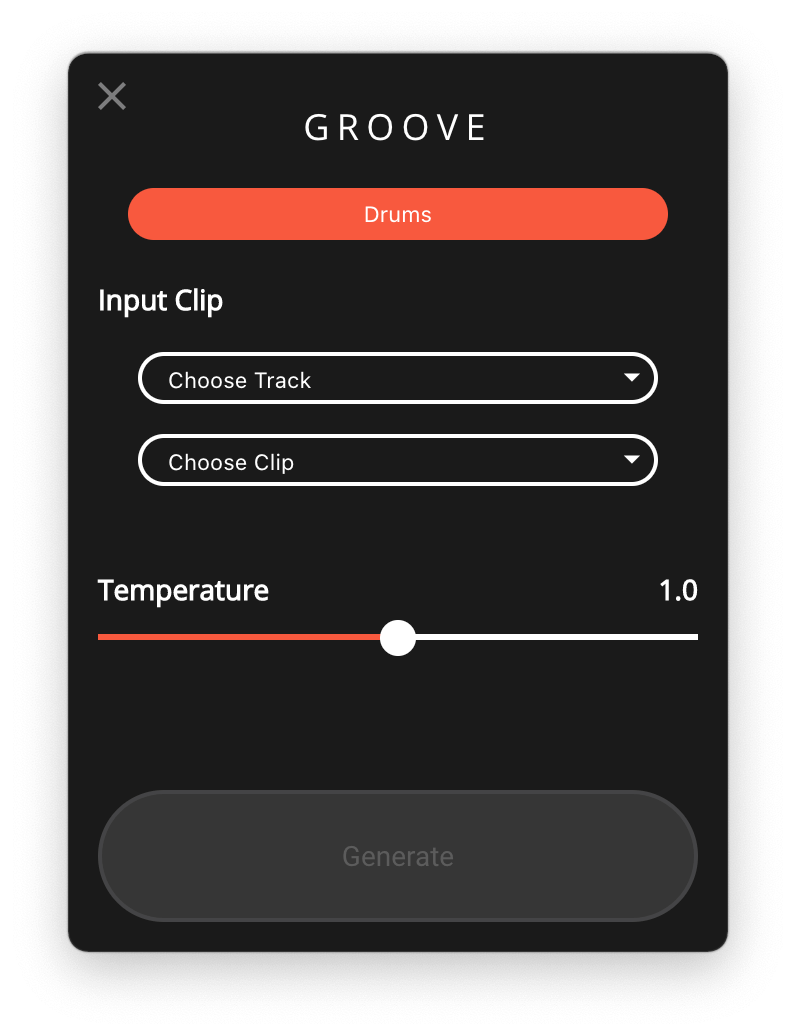
The Groove plugin takes a midi drum pattern and humanizes it. The clip it generates has variations in velocity and timing, giving it the feel of a “live” drummer. Magenta recorded 15 hours of drummers playing on midi drum kits and used this data to train a neural network to predict the unquantized beats as the output.
For the Groove beat, a midi clip of a drum and bass pattern was used as an input for the plugin. I ended up using the first generated clip because I liked it so much. The midi was then sliced up and rearranged in Ableton’s session view to create the foundation of the beat.
Drums
For the drums, I created my own drum rack layering kick, snare, clap, and hi-hat samples. Some filtering, envelope shaping, and compression was used on the individual drum samples. The whole rack is being run through a compressor, parallel saturation chain, EQ, and mix EQ. A lot of the midi was duplicated to trigger the drum layer samples.
Synth Bass
For the synth bass, I used Novation’s Bass Station plugin being run through a compressor, parallel saturation chain, more saturation, chorus, and EQ.
Synth Lead
For the synth lead Ableton’s “Flute Bounty” instrument was used and processed through a chorus effect, EQ, saturation, compression, bandpass EQ, and reverb.
FX
A clap sample was layered in on the first beat every 4 bars. To make the clap sample more dramatic, chorus, saturation, compression, bandpass EQ, and reverb were used.
DRUMIFY
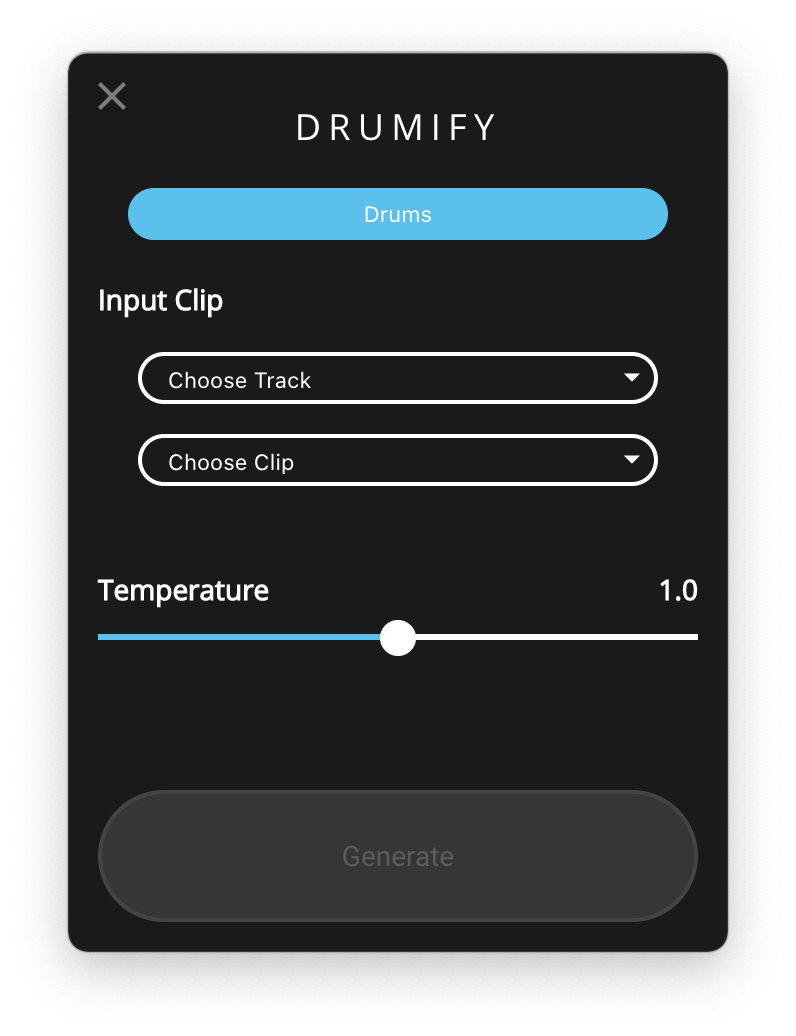
The Drumify module takes a midi input and generates a groove based on the rhythm of that input. It can be used to create an accompanying rhythm for a bassline, melody, or create a drum track from a tapped rhythm. You can tweak temperature on the module.
For the beat, a simple bass line was used as the midi input for the module. 8 different variations were generated, and one was chosen. I built the track off that midi clip.
Drums
A drum rack was created from scratch with my own samples. Claps and snares were layered in and some envelope shaping, filtering, and compression were applied to the individual drum elements, with compression being applied to the whole drum rack.
Synth Lead
For the synth lead, Novation’s Bass Station plugin was processed with saturation, chorus, and reverb.
Bass
For the bass, Kontakt’s Scarbee Bass was processed with EQ, compression, a sub filter plugin, parallel saturation, and a chorus plugin.
CONCLUSION
It was a fun time using the Magenta Studio plugins to create these tracks! I’m incredibly satisfied with the results. Obviously, the production plays a huge role in the feel of the track but a lot of the midi that was generated really created some interesting ideas. These ideas could definitely be elaborated on to create full songs. It’s a useful tool and interesting to use for getting ideas, but it’s ultimately up to you on how creative you can get with the midi clips it generates.