
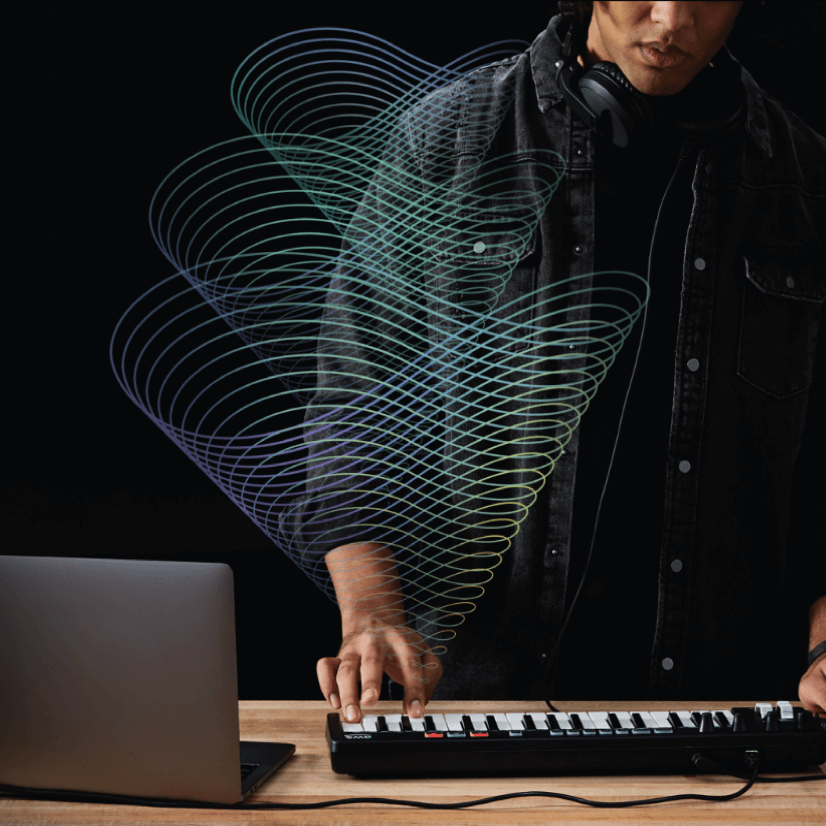
Recently, I provided a video overview of AWS DeepComposer, an Amazon Web Service designed to teach developers AI and Machine learning in an engaging way. One thing that AWS DeepComposer does is it takes a melody you have written (or an uploaded midi file) and generates four accompaniment tracks. As a follow-up to the video, I decided to create a short beat using AWS DeepComposer in the process. I thought it would be a great way to show some insight on what you could get out of this service.
I will show you how I went from this simple melody:
…to this beat:
Generating the Composition
To begin, I set the generative AI technique to Generative Adversarial Networks since that technique generates accompaniment tracks. For the generative algorithm, I kept it on MuseGAN since AWS DeepComposer does not come with any U-Net models, and I didn’t feel like training a model. As for the specific MuseGAN model that would generate the inferences, I chose Rock.
With the model parameters set, I recorded my input melody. This part of the process is trial and error, as it takes some time to understand how different models react to the input melodies you feed them. By around the 10th melody, I generated accompaniment tracks that, while sounded rough, had potential. I also ended up using the Pop model instead of the Rock one.
The melody itself is quite simple (as you heard above) and was performed on a laptop keyboard. Additionally, I turned on rhythm assist which quantized the notes. Ideally, this feature is supposed to return better results from the models.
Here is the composition that the Pop model generated:
Editing the Notes
With the composition generated, I downloaded it as a midi file and imported it into FL Studio (my primary DAW).
I began by editing the midi notes of the tracks, starting with the guitar track. I polished up the track by removing notes I didn’t like. Here is the before and after:
The next track I tackled was the string track. Like the guitar track, most of the midi editing involved removing notes. However, I did add a few notes and changed some of the chords slightly to harmonize better with the guitar track. Here is the before and after:
The next sound I tackled was the drums. I knew right away this was not going to fly and replaced it with a hip-hop drum loop that I downloaded from Noiiz.com. Here is the before and after:
The next track I touched up on was the bass. I removed extra notes and fixed the rhythm so that it grooved better with the other instruments. Here is the before and after:
As for the input melody itself, I decided not to incorporate it.
So here is the beat so far:
Polishing the Tracks with Post-Processing
With the tracks edited, the next step was to mix them.
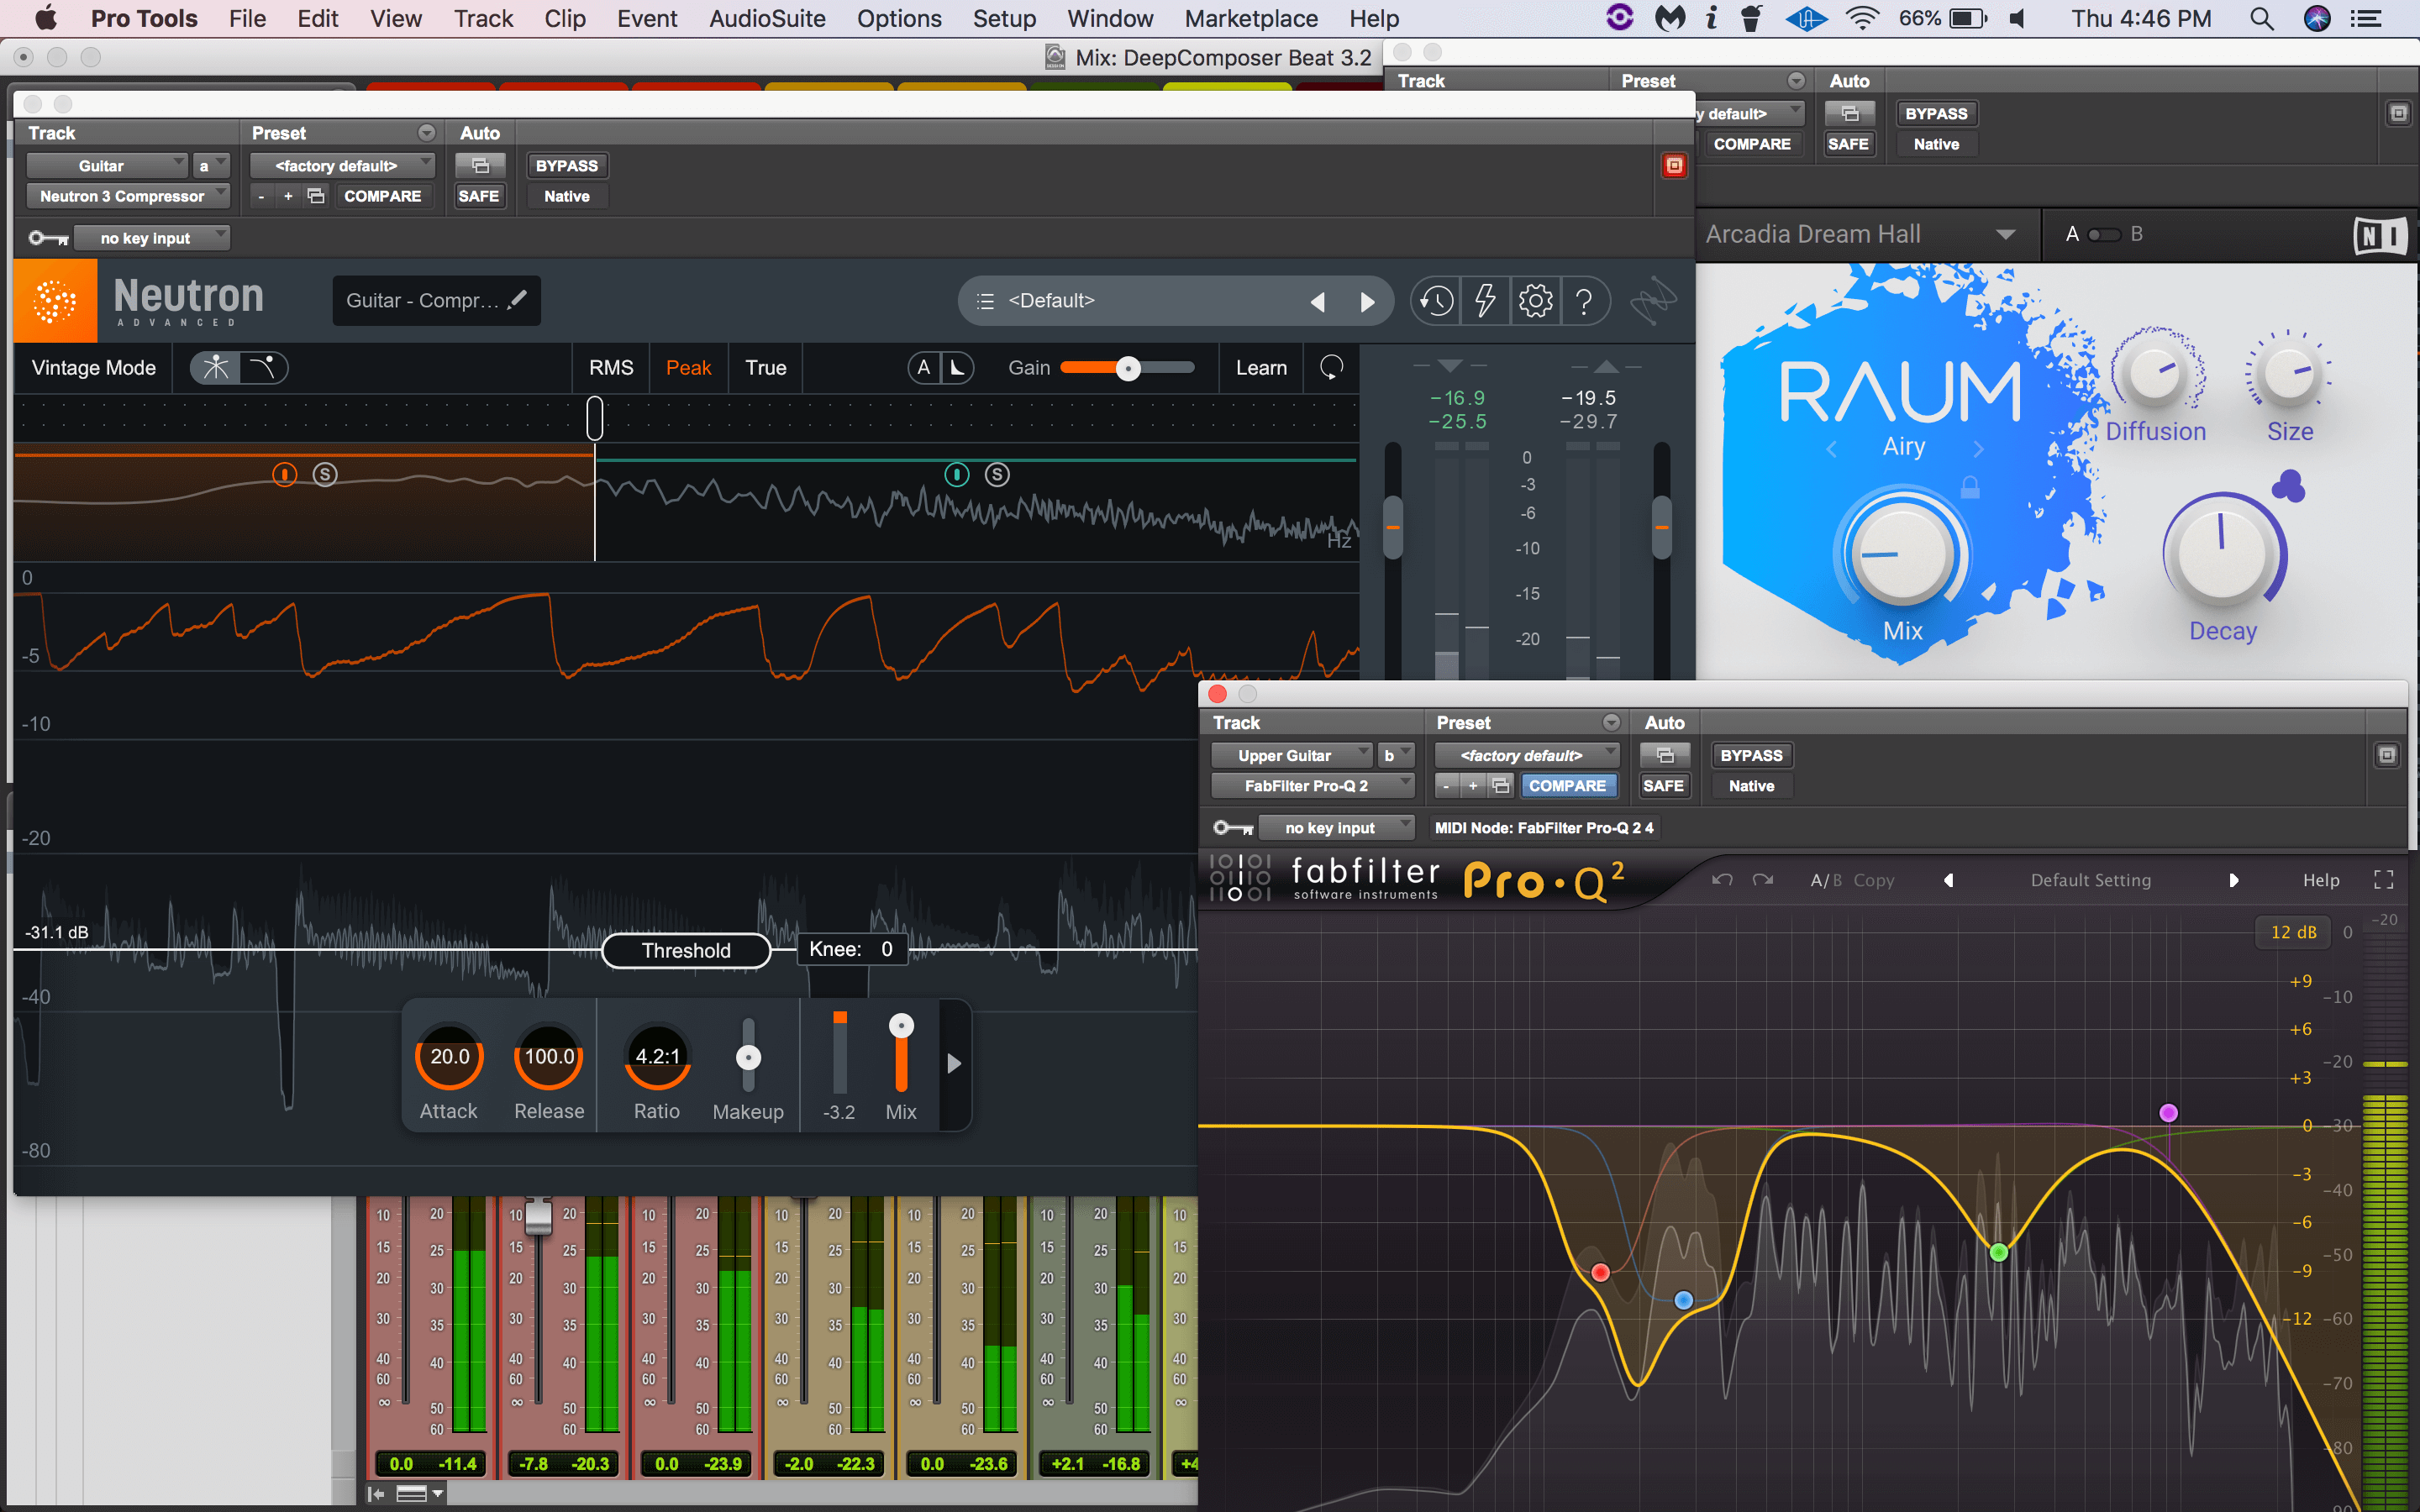
For the guitar track, I actually split it into two guitars so I could pan them to the sides. The guitar on the left is playing higher notes, while the one on the right is playing lower ones. Both guitars had a lot of build-up in the low-mid range, so I carved that out a good amount. The left guitar was quite piercing in the upper-mids (~2 kHz) so that was reduced as well. I removed a couple of harsh resonances around 1kHz and multi-band compression to make the guitars more dynamically consistent. The guitars also had quite a bit of aliasing in the high end, so I used a high-pass filter to reduce it. Finally, I used a reverb plugin called RAUM by Native Instruments to put the guitars in a space.
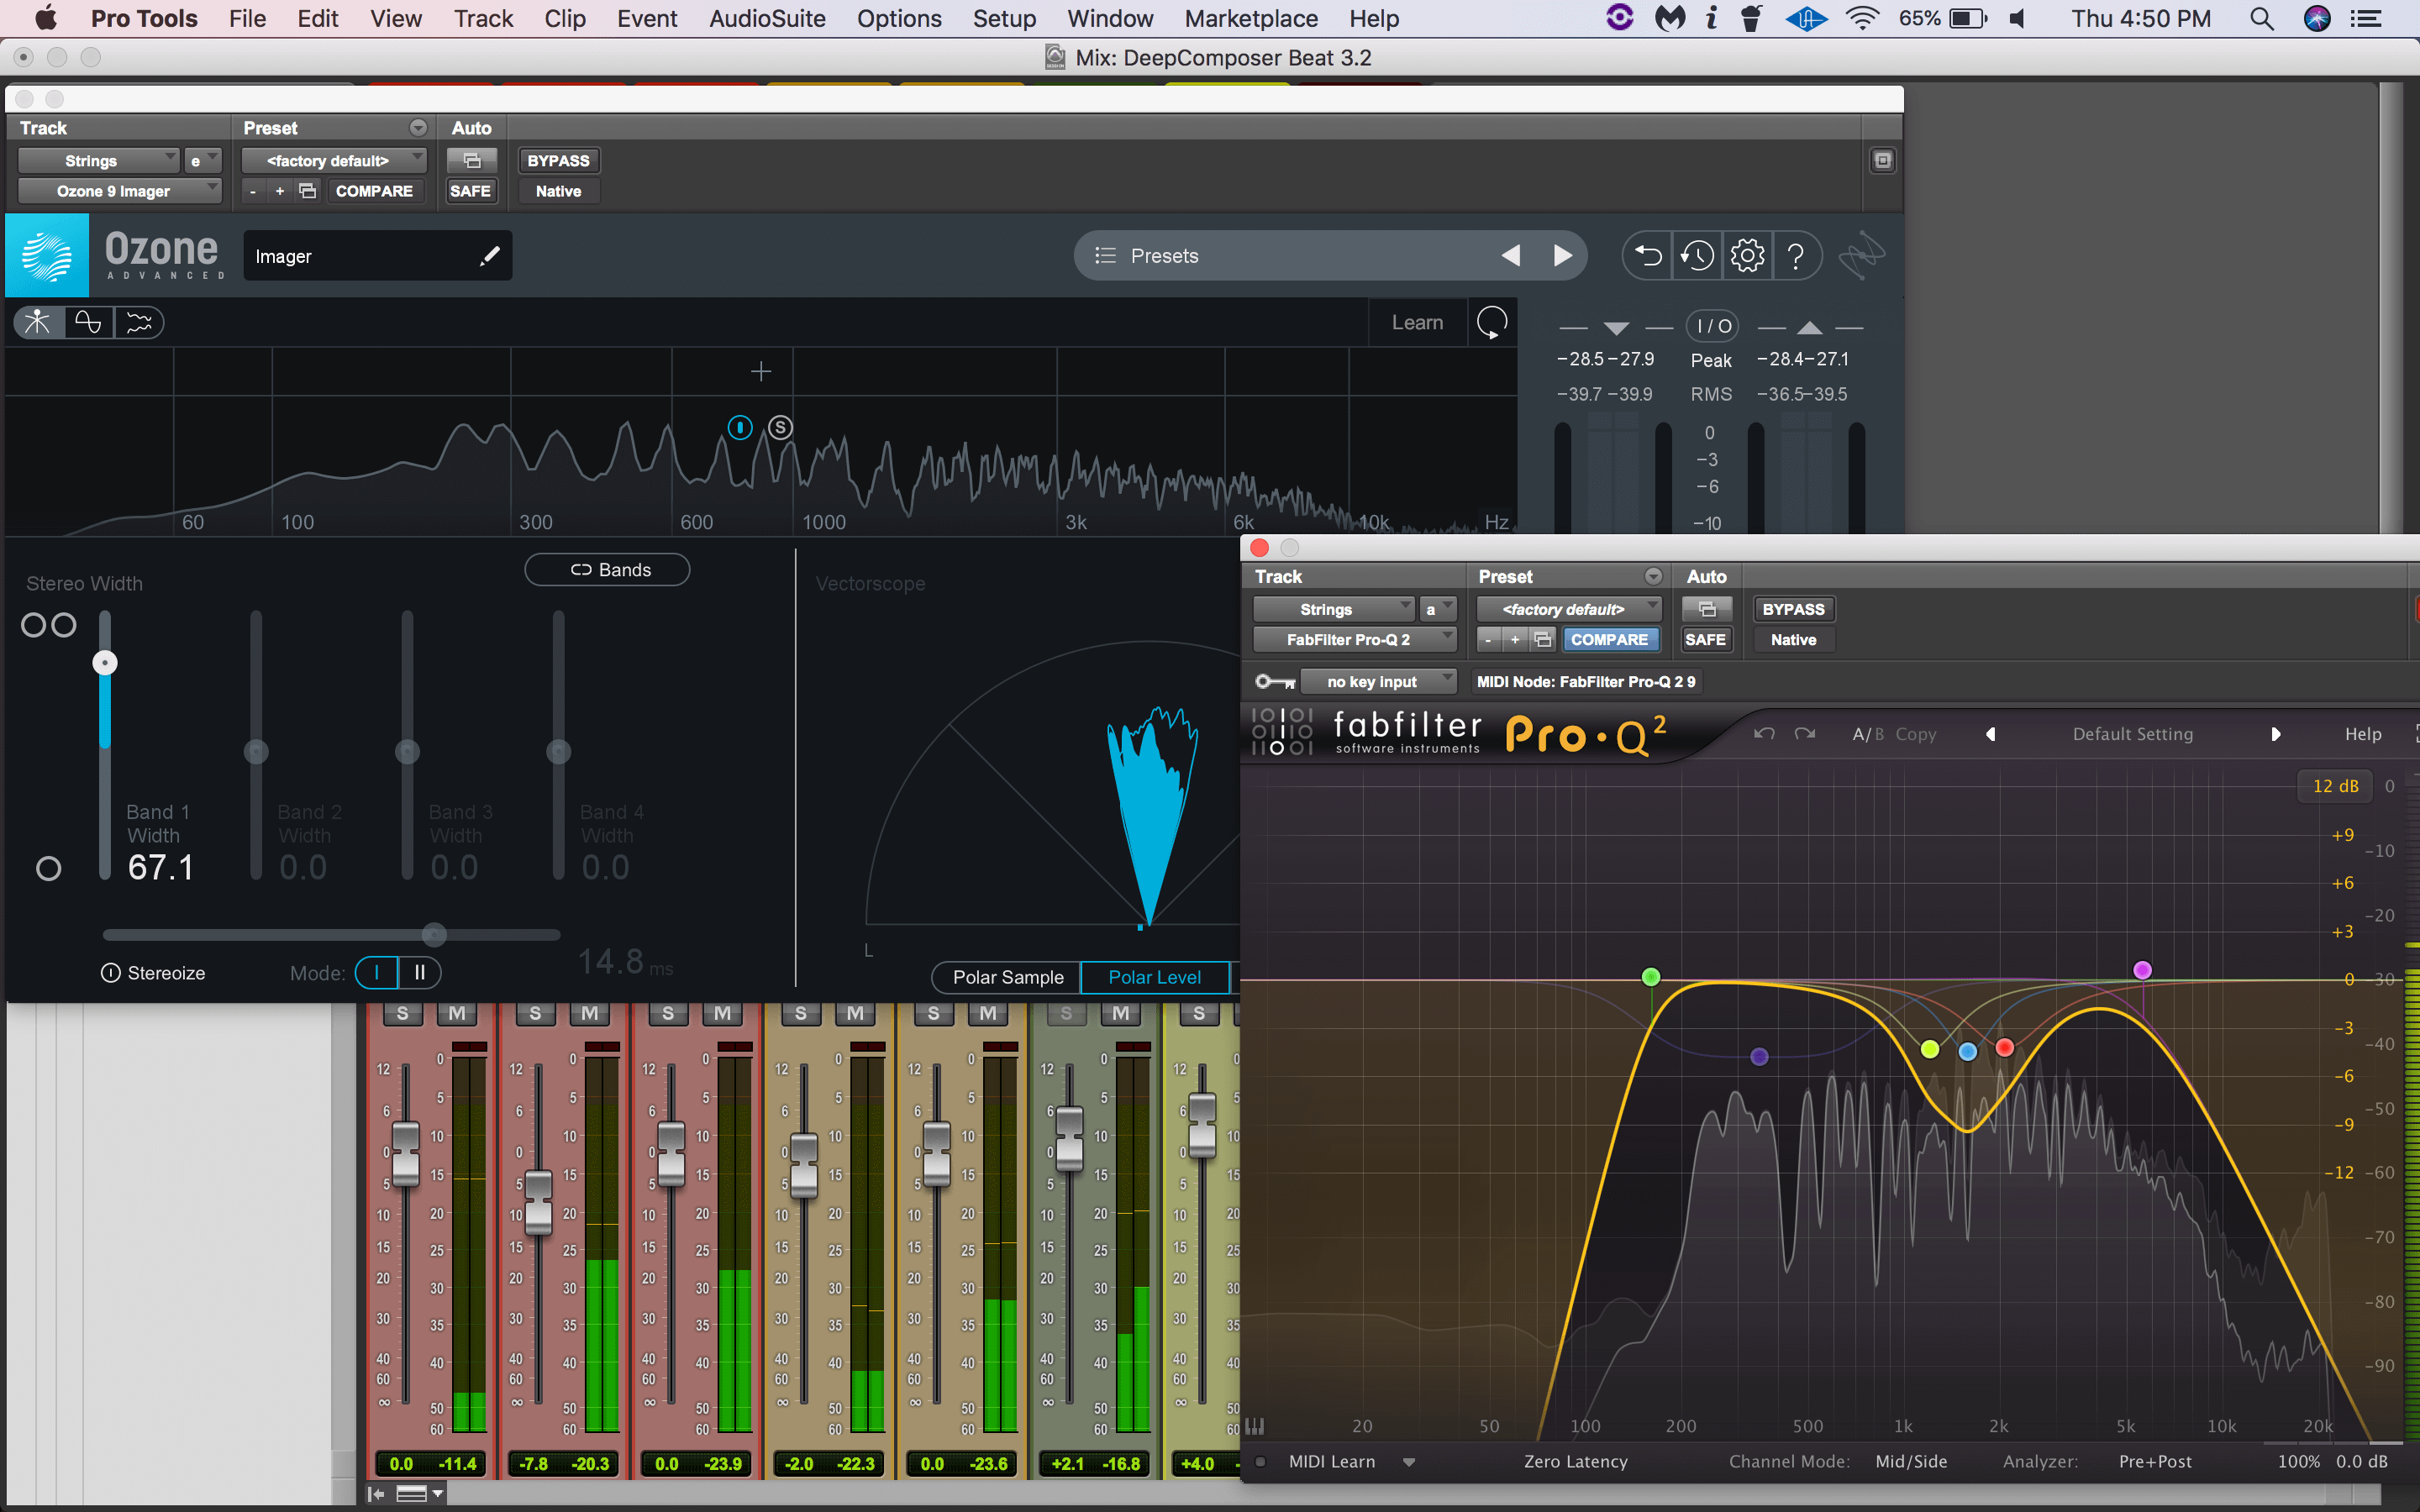
For the string track, I removed low and high frequencies since I wanted a warmer sound. I reduced some resonant frequencies in the midrange that were annoying and low-mids that made the strings sound muddy. Also, I used iZotope’s Ozone Imager plugin to give the strings a bit more width since they were quite narrow to begin with.
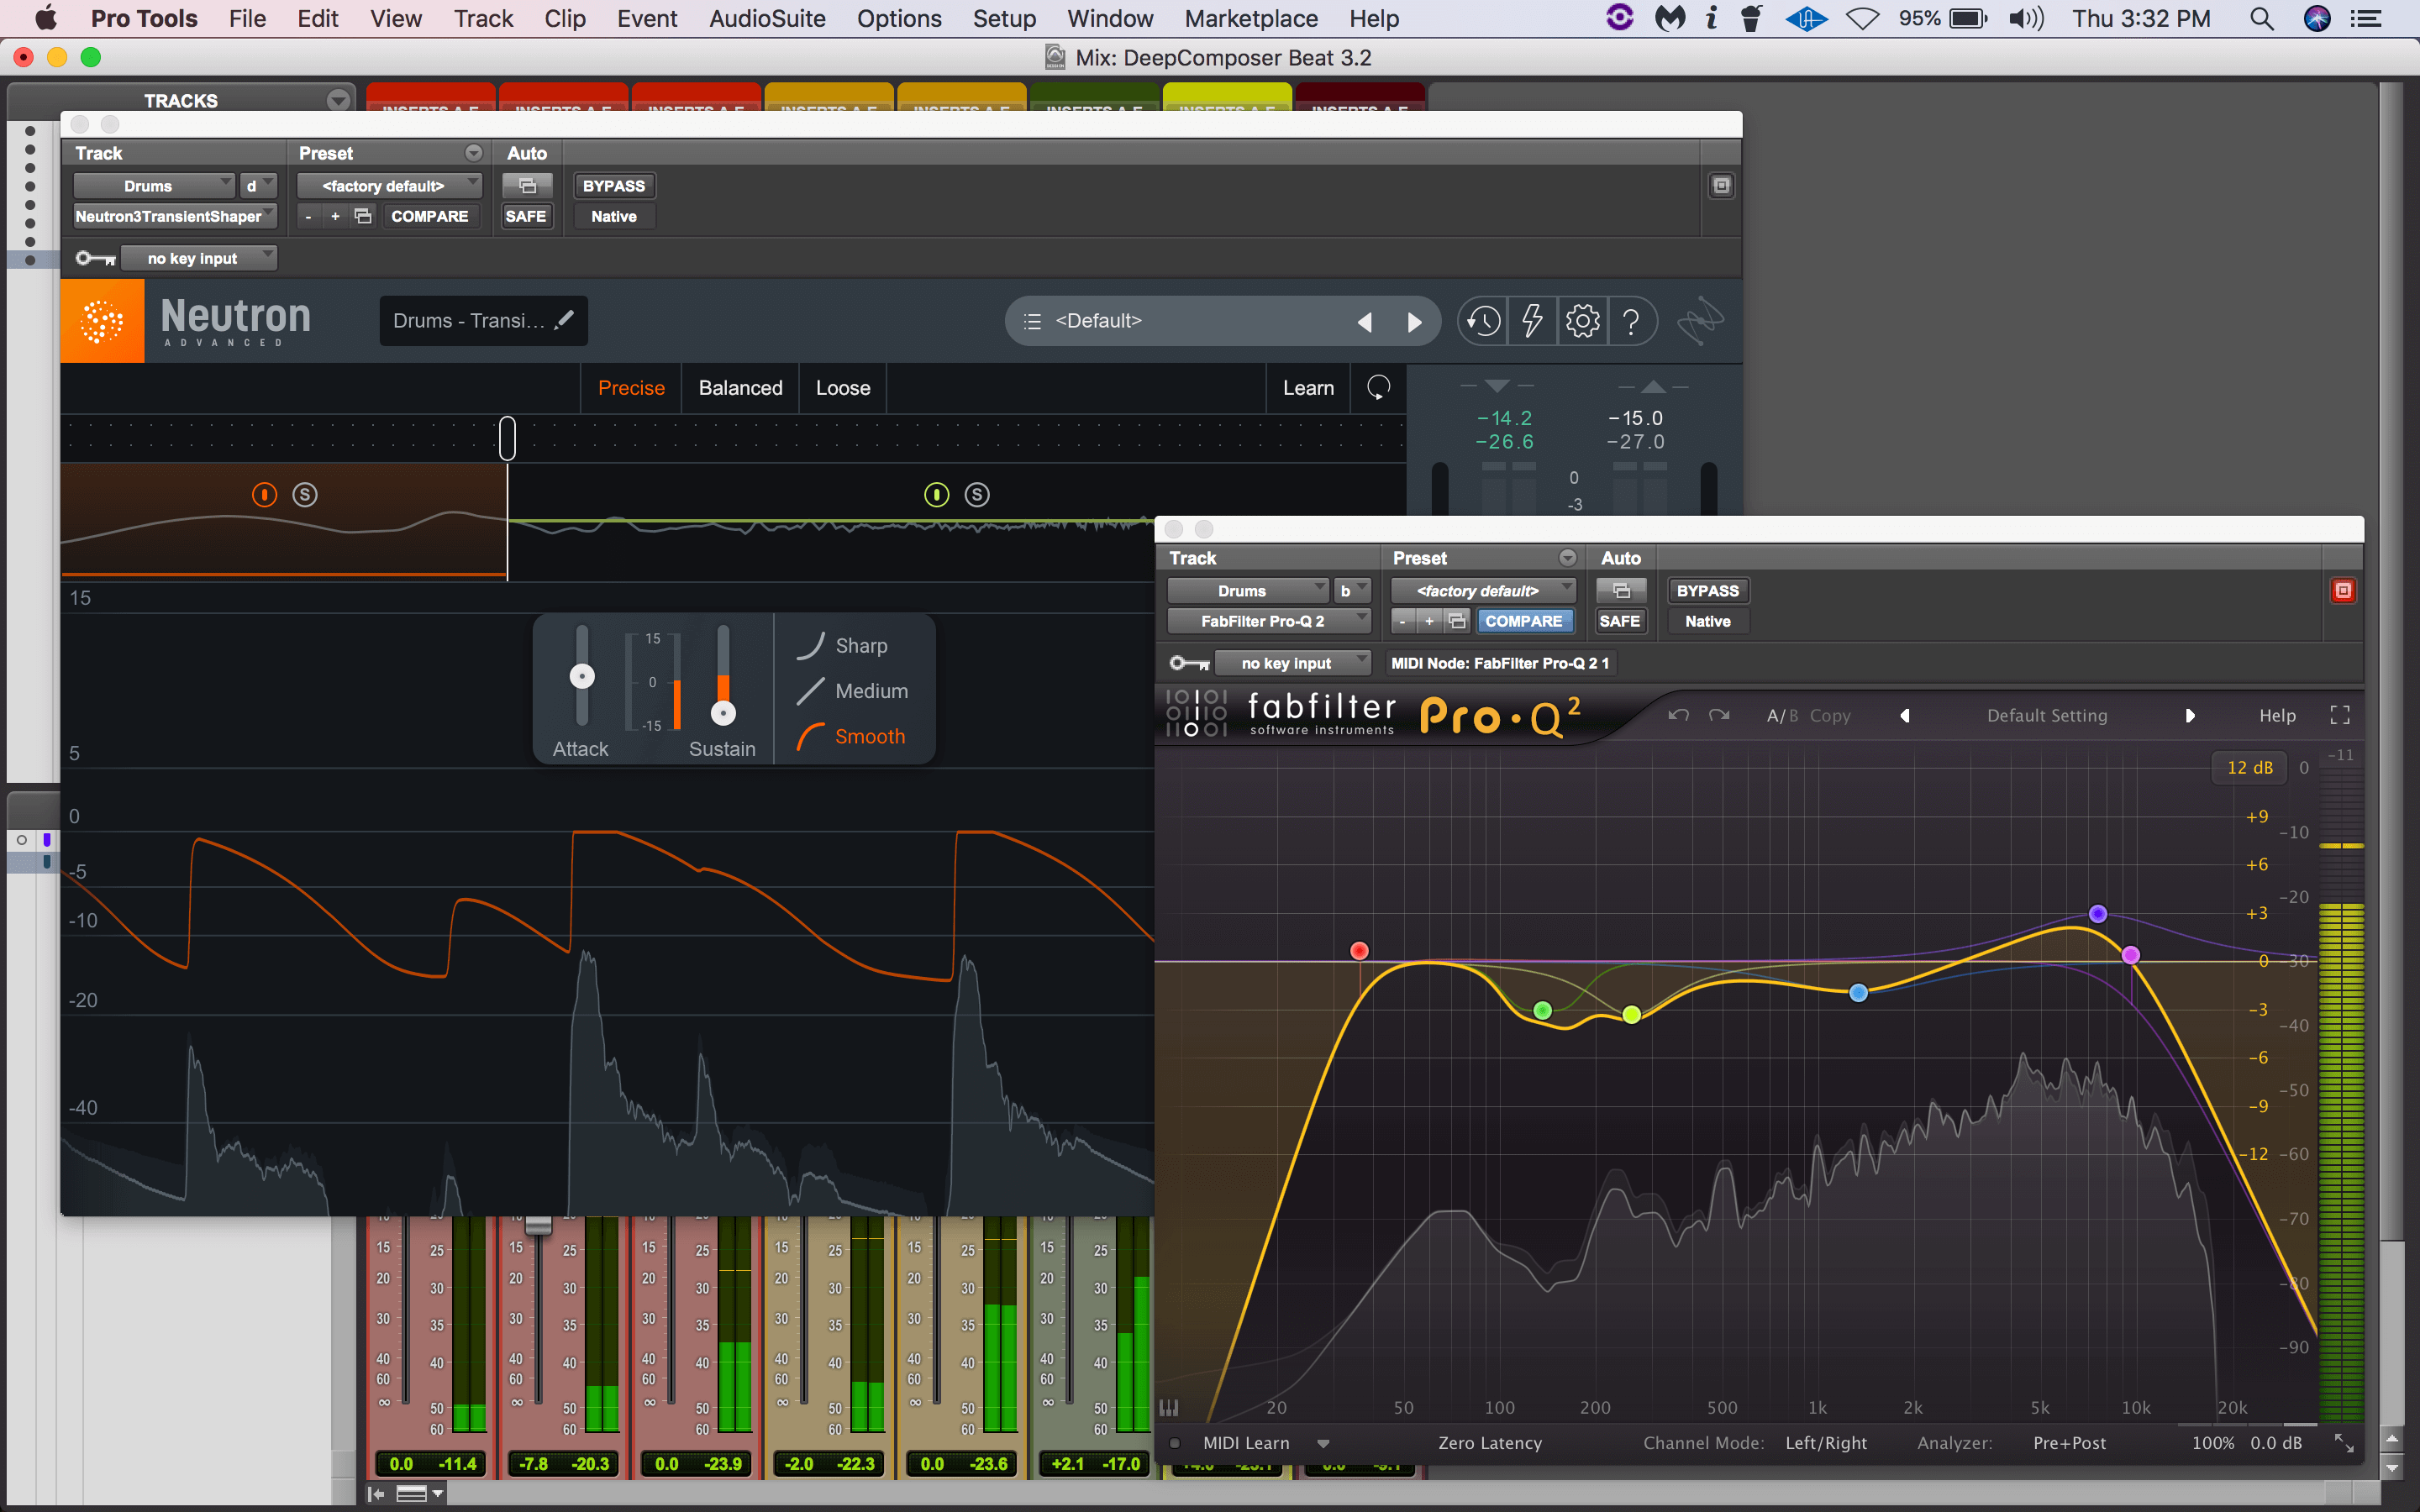
For the drum loop, I reduced boominess from the kick drum and scooped the midrange a little bit. I also boosted around 10 kHz to brighten up the top end and used Neutron 3’s Transient Shaper in multiband mode to reduce the sustain of the kick drum so it would be tighter.
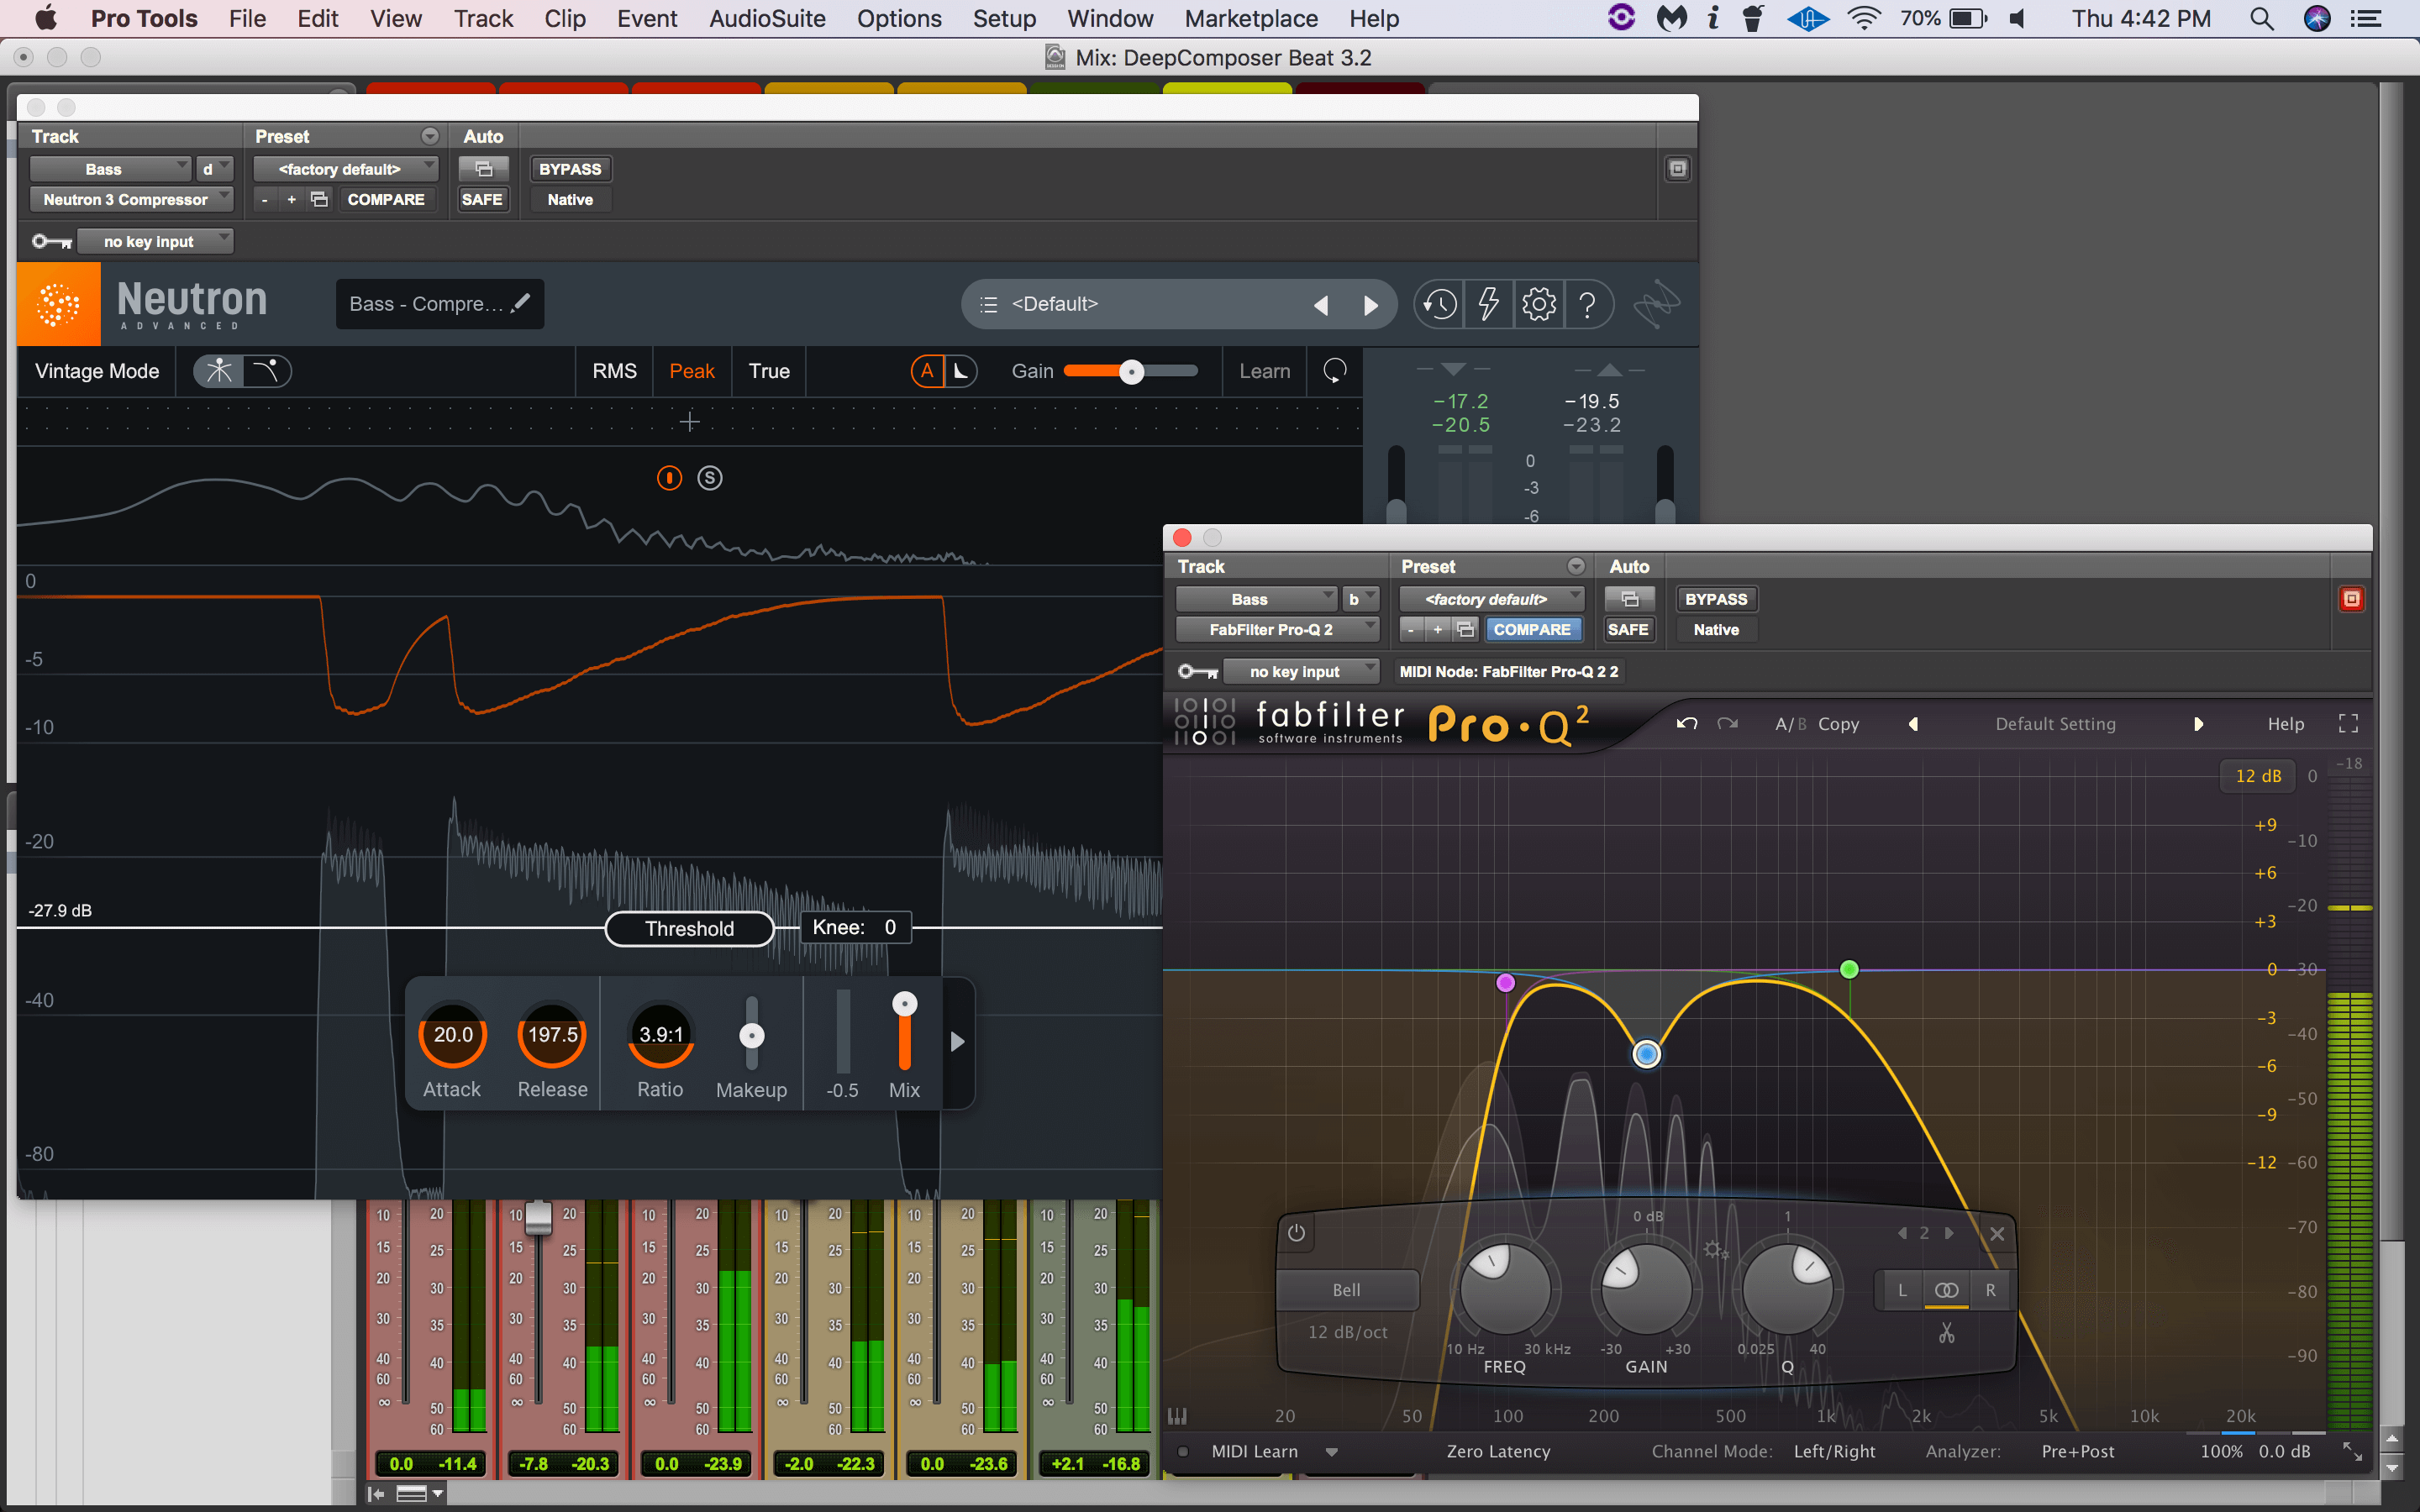
As for the bass track, I reduced the low-mid frequencies to make room for the kick drum. While mixing, I decided to add a sine wave that played the same notes as the bass to reinforce it. In doing that, I used a low cut to remove the fundamental frequency of the bass since the sine wave was replacing it. To make the bass sustain longer, I used compression with a decent amount of gain reduction.
Conclusion
So that is how I made a beat with the help of AWS DeepComposer. It was a fun and stimulating experience being that it was my first time creating music using artificial intelligence. As we saw, AWS DeepComposer was not able to create the beat for me and have it ready for Spotify. The tracks required a decent amount of work. However, I’m sure you could train models that generate high-quality output and require little compositional editing.
With that said, hopefully you found this blog insightful. Perhaps it even peaked your interest in seeing what you can create with the assistance of AWS DeepComposer. Sometime in the future, I will have to try this again using my own trained models. It would be interesting seeing what kind of results I would achieve with them.
Thank you for reading and take care!