If you haven’t heard yet, the music software company Waves has recently released a free sample finder called Cosmos. This new piece of software utilizes AI and multiple tag and search functions to help you filter through your sample library and includes a Waves Audio Factory Pack which contains 2,512 different samples.
I should note that Cosmos is a standalone desktop application, not a plugin, but you can still integrate it with your DAW due to its capability to drag and drop samples. To use Cosmos you’ll have to download it from the Waves website and activate/install it via the Waves Central app. You also have the option of logging into your Waves account within Cosmos.
MAIN INTERFACE
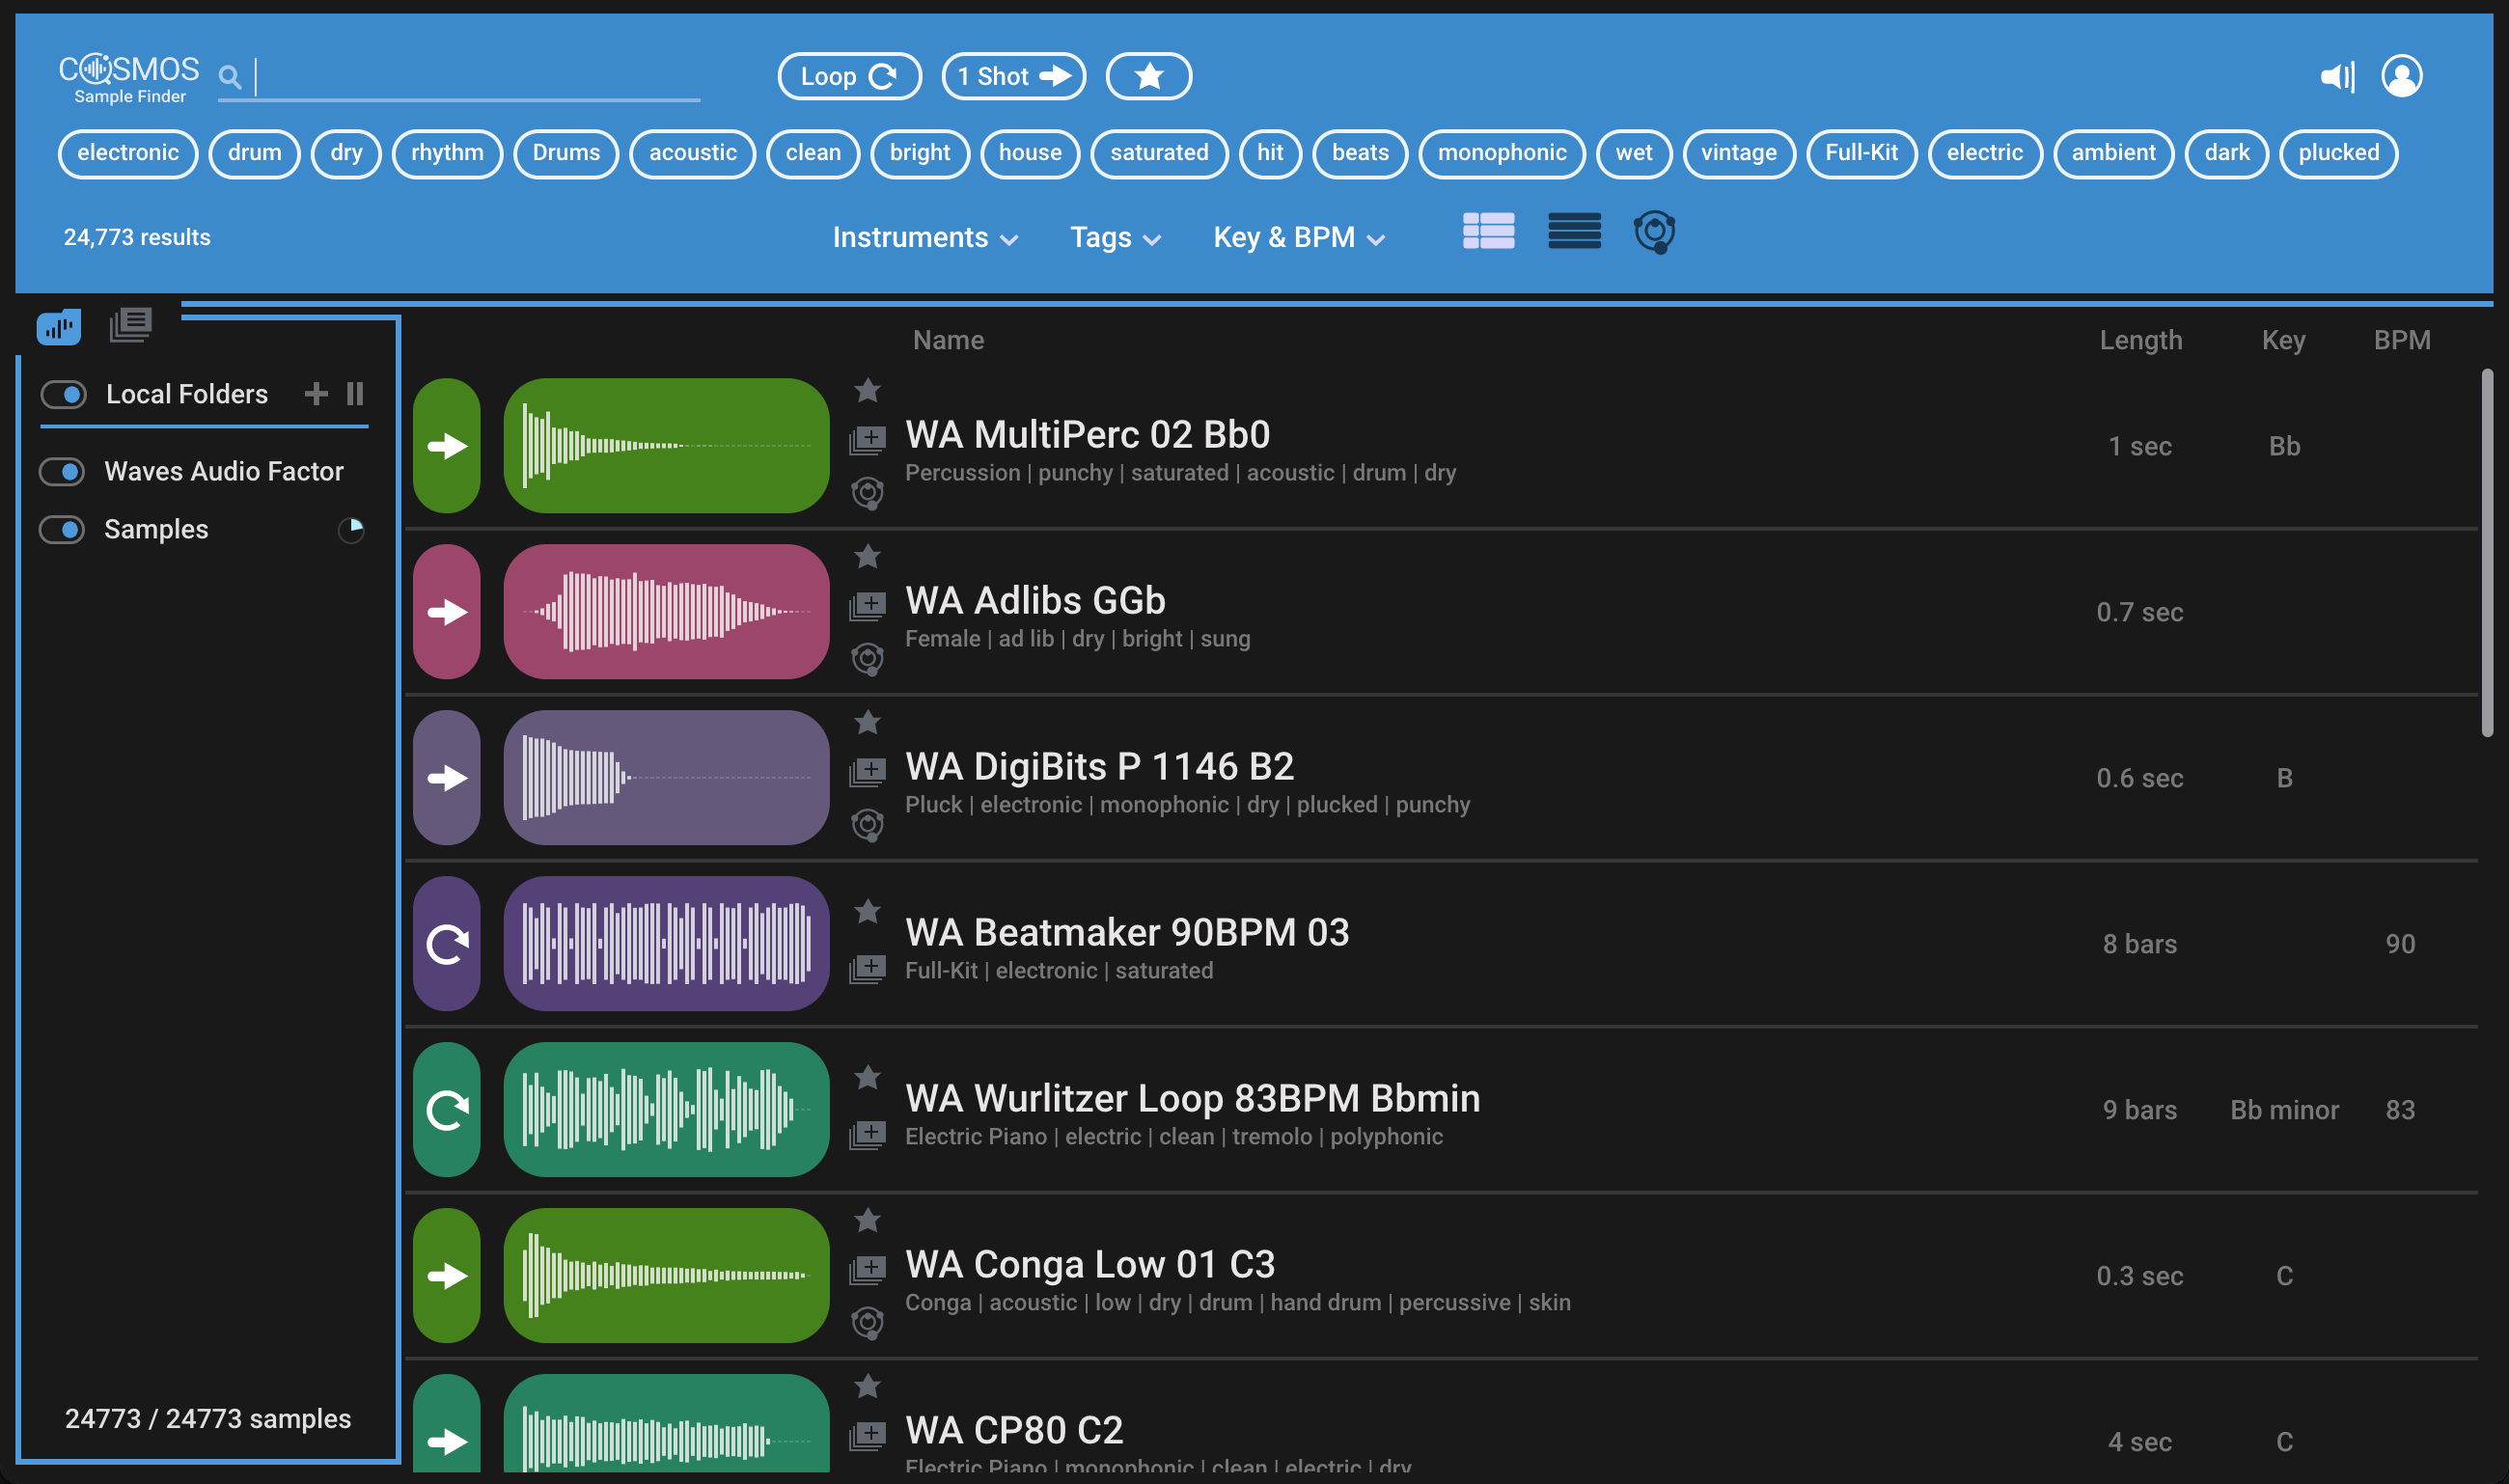
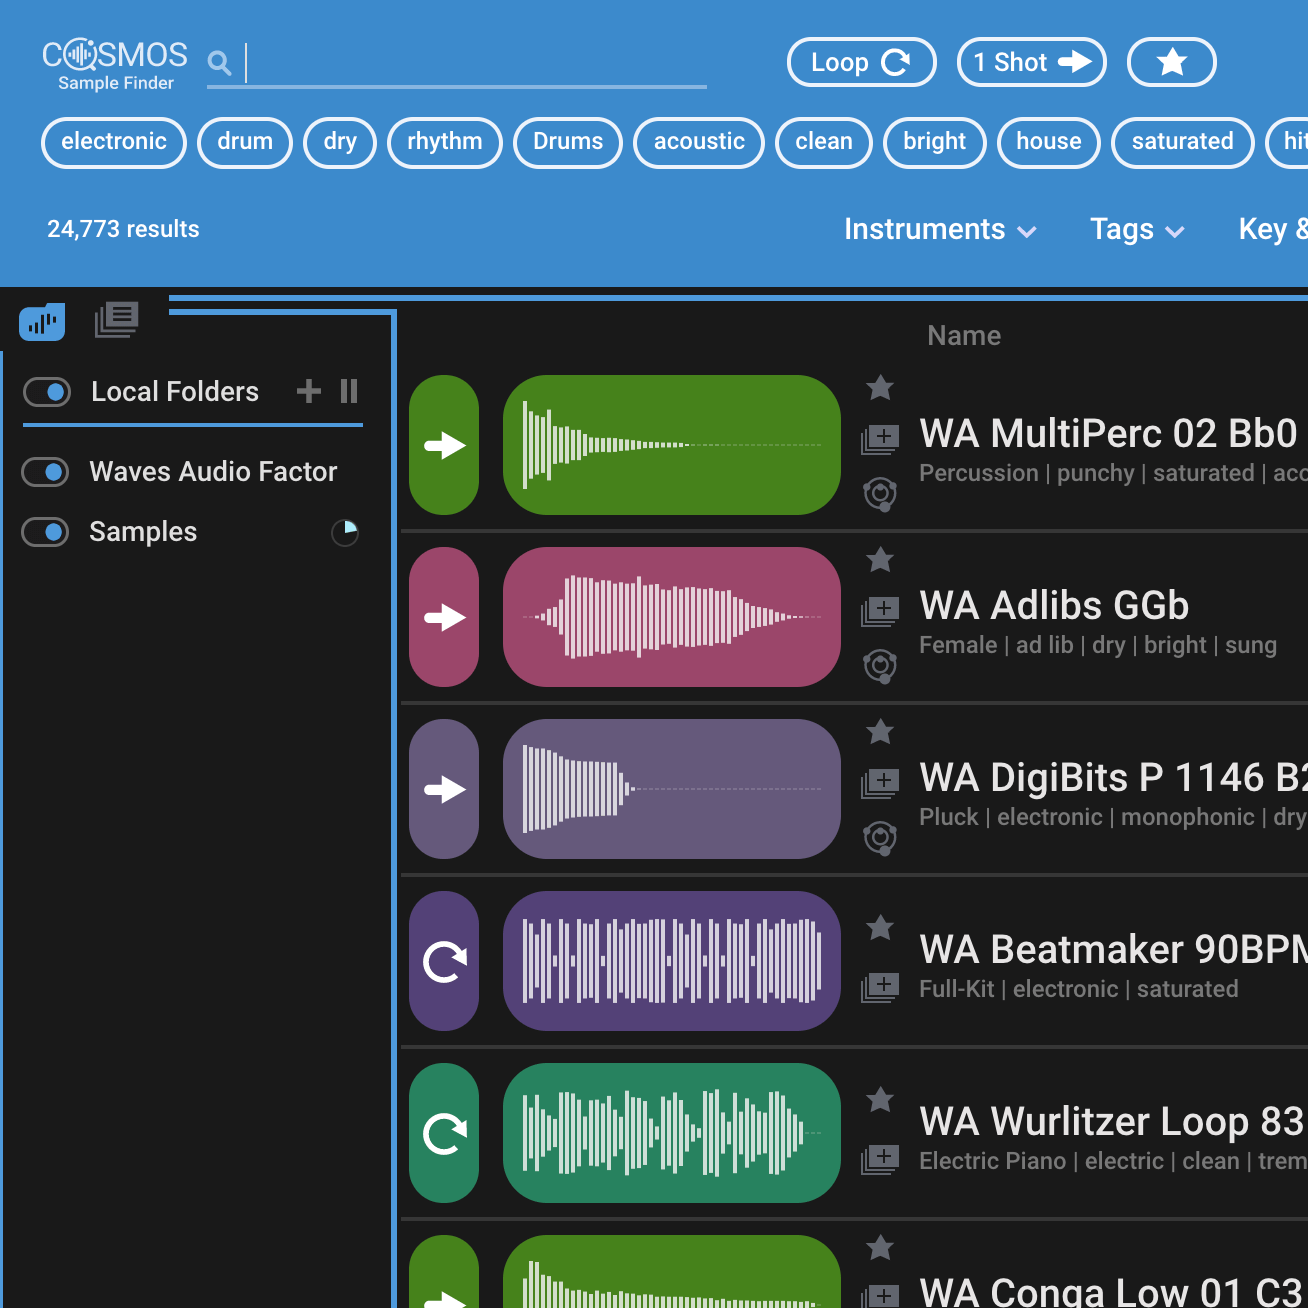
At first glance you’ll see that Cosmos is comprised of a search section and tag menus on top, a sample folder manager on the left, and a sample browser that lets you audition the sample, shows you a visual waveform, the sample name, descriptive tags, length, key, and BPM. Also within the browser you have the ability to favorite the sample, add it to a collection, or see its location in the COSMOS view.
LOCAL FOLDERS PANEL
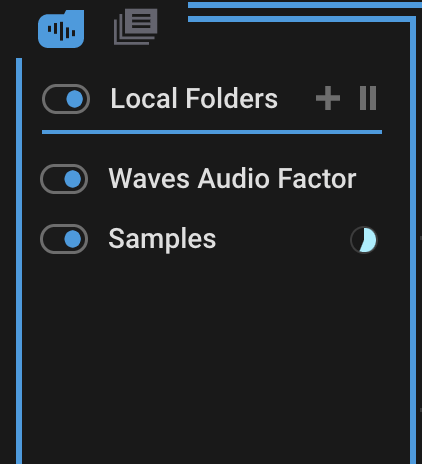
On the left-hand side of the screen, you’ll see the Local Folders panel where you can browse through, manage, and add sample folders. Waves conveniently provides you with the Waves Audio Factory Pack containing 2,512 free samples to get you started.
To add a sample folder, click on the “+” icon. When you add a new folder, COSMOS scans each sample in the folder, extracts data, and creates relevant search tags for each sample. Scanning isn’t recommended during sessions using high CPU.
In the sidebar on the left you’ll notice an icon to the right of the folder icon, if you click on this it will take you to your collections. Waves describes collections as “… a virtual folder that helps you organize samples that you have located.” You can create a new collections folder by clicking the “+” icon in the sidebar.
SAMPLE SEARCH

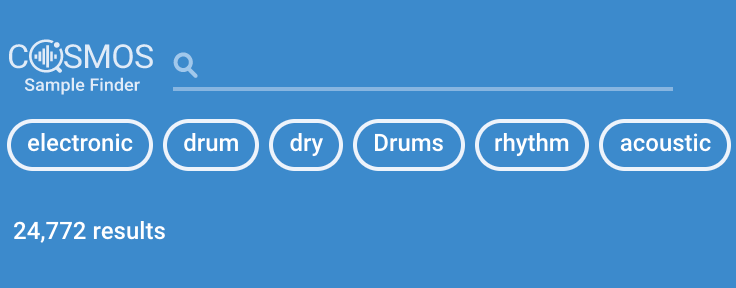
COSMOS provides you with a few different options to search and filter through samples.
Search: Use the search bar to find samples by name or other descriptive information
Loop vs One Shot: Another search option is the ability to choose whether you’re looking for a loop or one shot. This might seem like a basic filter option but it’s a great way to refine your search.
Tags: Use tags to further filter your search and get more specific results. Tags describe different attributes of a sample file. As you select tags, the tags suggestion bar will change its results by adding, removing, or changing tags. There is a “Clear” button to remove the all the tags you selected and restart your search.
You can use all of these search options in conjunction with each other. For example, I can use the search bar and tags at the same time to filter through samples.
TAG MENUS
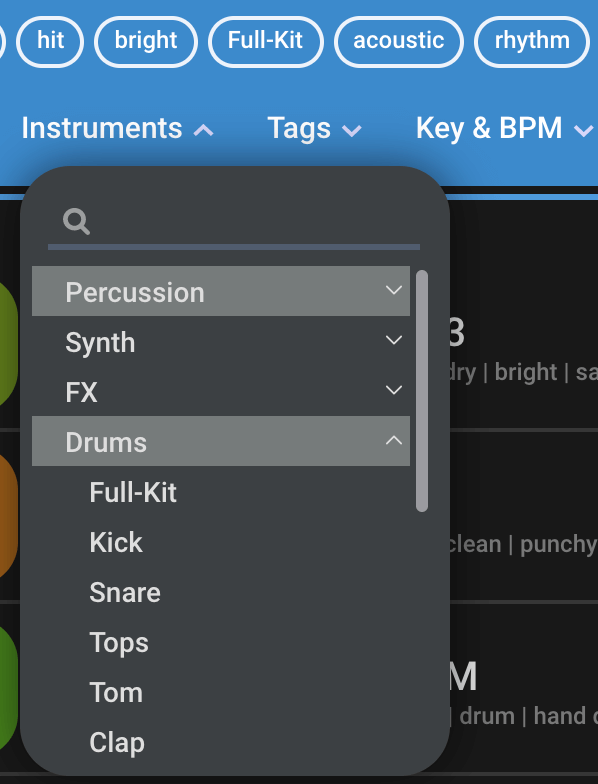
Below the tags section there are three dropdown menus: Instrument, Tags, and Key & BPM.
Instrument: COSMOS uses machine learning to figure out what instrument or family of instrument was played in a sample.
Tags: This shows all available tags based on your previous searches and filtering.
Key & BPM: Clicking this brings up a small interface that allows you to change BPM and Key. There’s a slider that lets you pick a range to search around for the BPM, two buttons that allow you to search for double and half-time samples, and a keyboard to filter samples by key with the options to choose major, minor, or relative key.
If COSMOS didn’t correctly categorize your imported samples, then there is an option to modify tags and attributes. Click the three dots on the far right side of the sample in the sample browser section or right-click on the sample’s name or waveform. This will show a drop-down menu with the option to “Edit Tags” or “Edit Attributes” as well as other information about the sample.
COSMOS VIEW
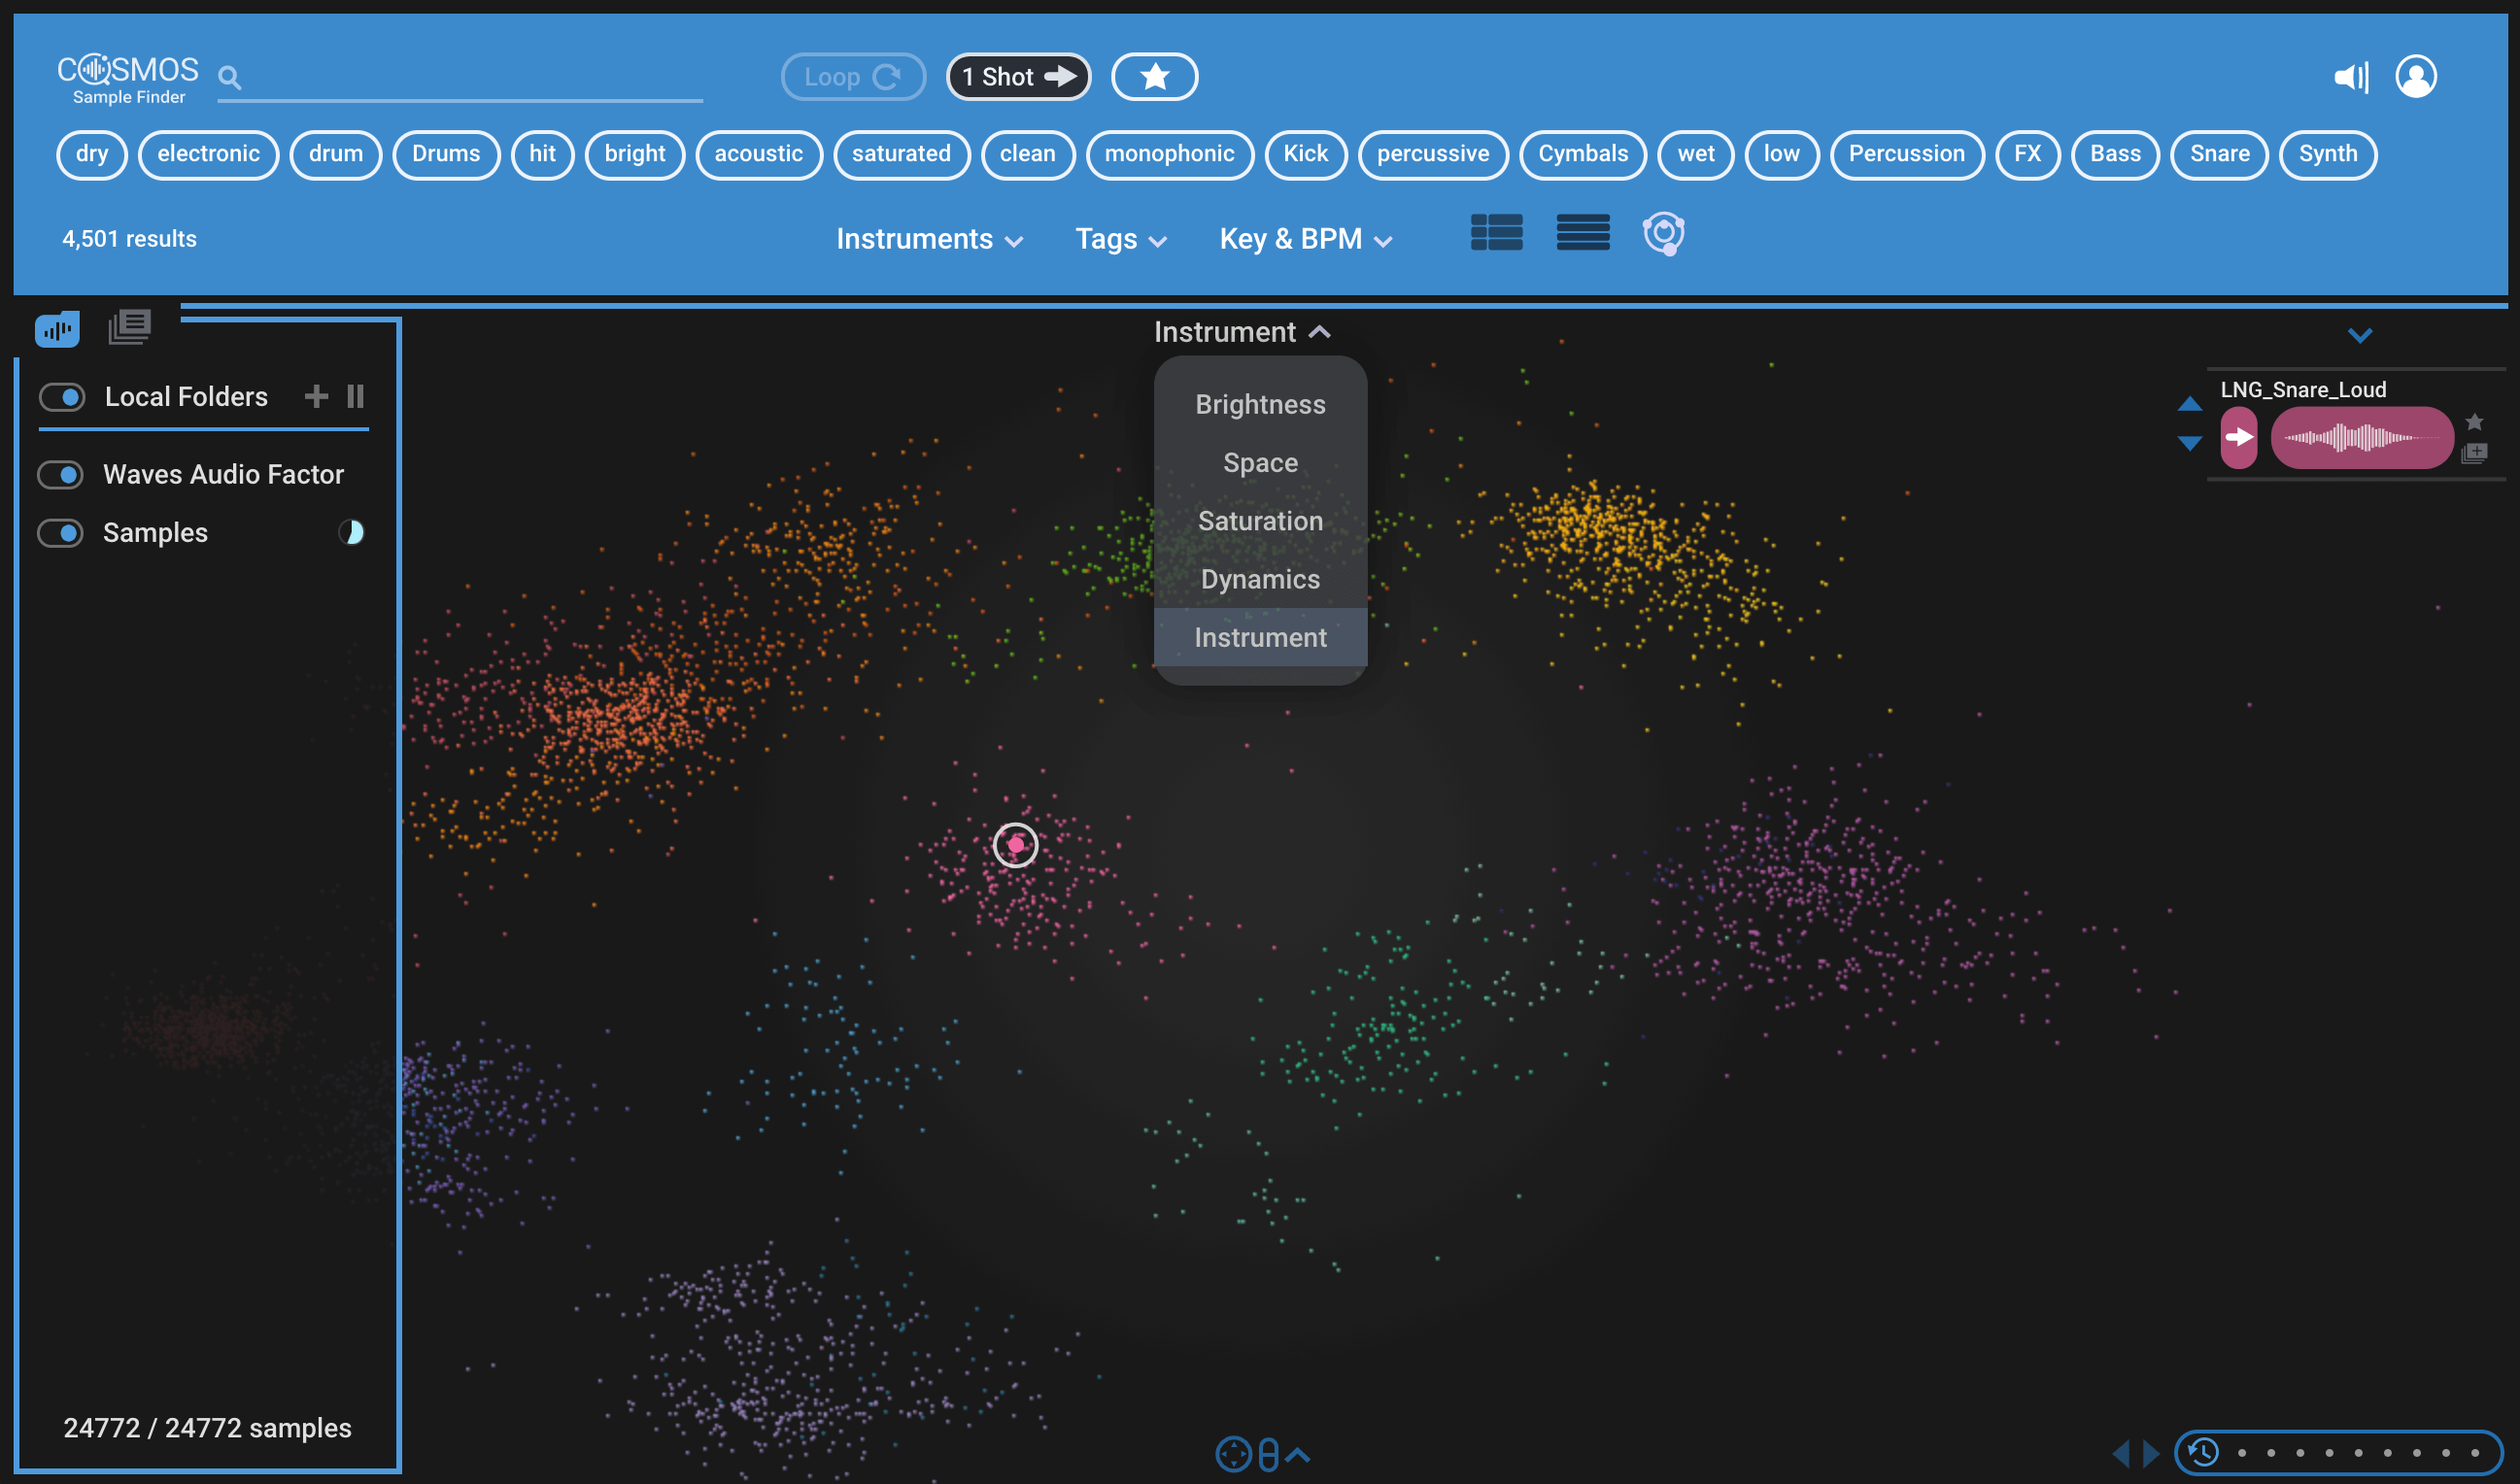
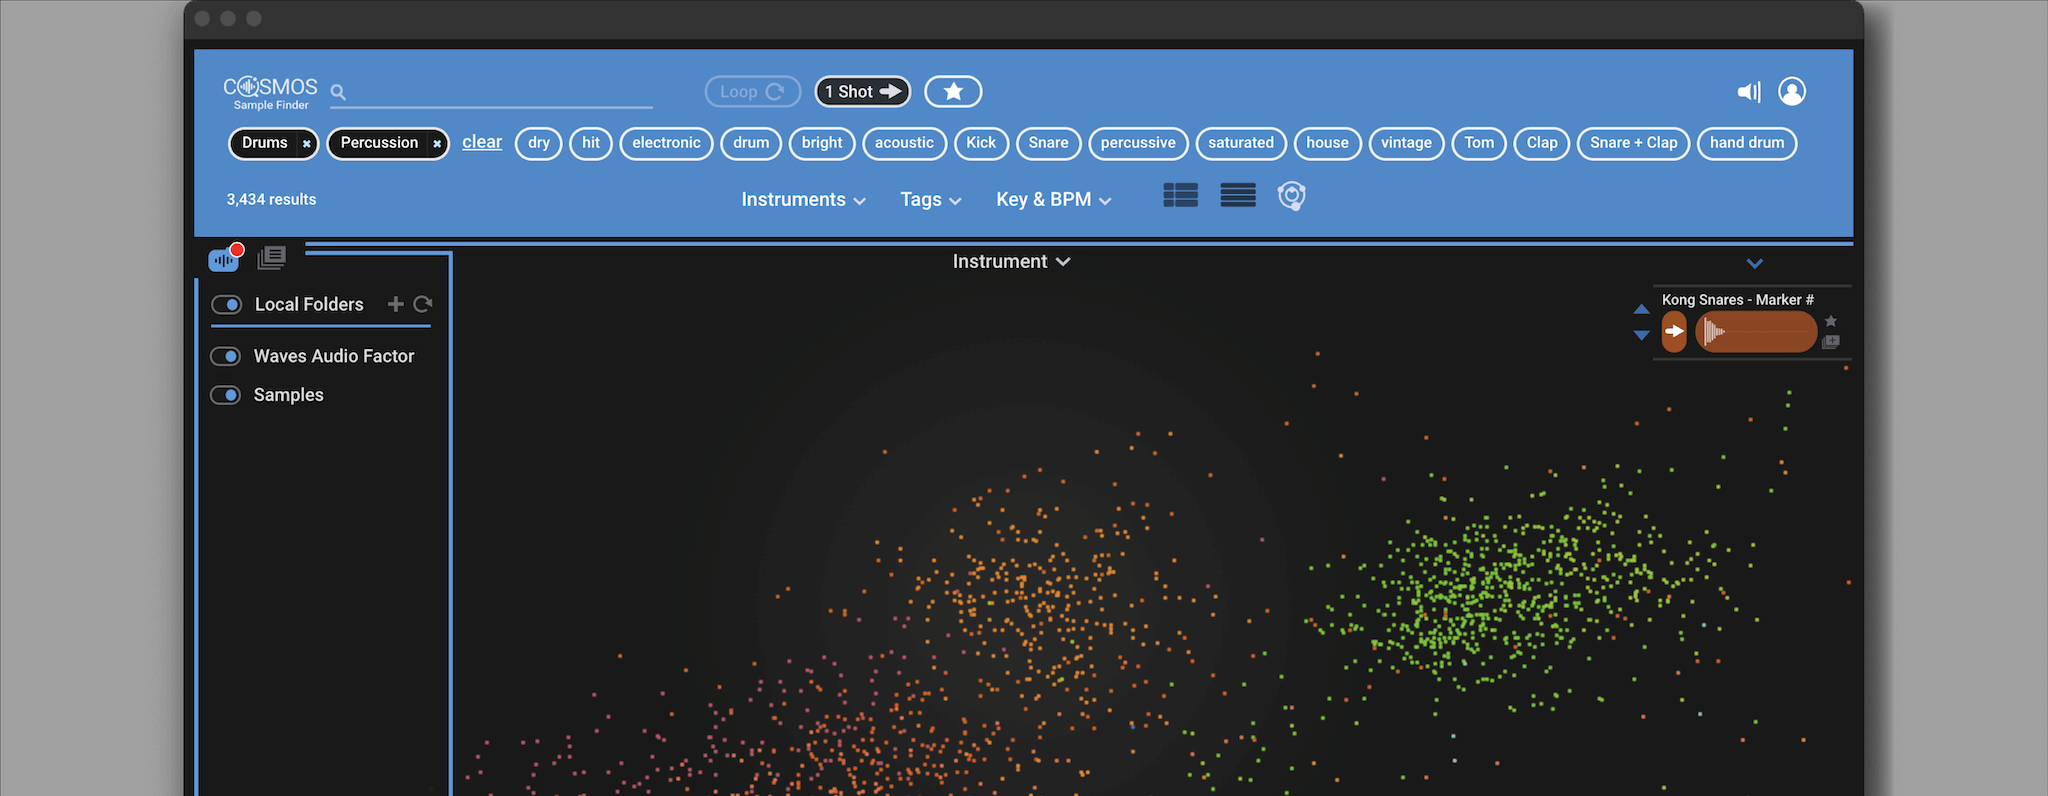
You have the option to see samples visually in a cosmos by clicking on the orbital icon.
In this view, COSMOS analyzes your samples and groups/colors them based on how similar they are to each other. The closer they are, the more similar they are in sound. You can change how the samples are arranged by selecting one of the map selection options (show drop-down). The way that this works is by arranging samples on a horizontal axis based on the map selection you’ve chosen, for example in the “Space” map view, dry samples appear on the left and wet on the right. The “Brightness” map view arranges darkest on the left and brightest on the right, and so on.
There is a gradient switch that changes the color scheme of the samples to suit the map you selected. When the switch is deactivated, the samples will be shown in their original colors, which is based on the instruments family.
if you click on a sample in COSMOS view, it will appear at the top right of the screen. Press the drop down arrow above to expand it and view adjacent samples. You can use your keyboard up and down arrows to browse through these samples. The selected sample can also be dragged and dropped outside of COSMOS, or added to collections and favorites
On the bottom left of the screen you can see a history bar. Click on the left and right arrows to browse between samples you’ve auditioned. Keyboard arrow keys work here as well.
If you would like to download your free copy of COMSOS click here.